It’s my second favorite time of the year!!!

I used to love dressing up and collecting candy when I was a kid. Now that I’m all grown up, I enjoy decorating the house and passing out candy to the kids in the neighborhood. It’s almost as fun, if not more fun now than it was back then.
I also looooooooooooooooooove carving pumpkins! I used to draw the face on the pumpkin and Dad would carve it out. But he always let me pull all the seeds and guts out, that’s the best part ;-)
Now that I’m all grown up, the carving has become more intricate and involved.
Rather than just post the finished product, thought I would show the step by step of how I do mine.
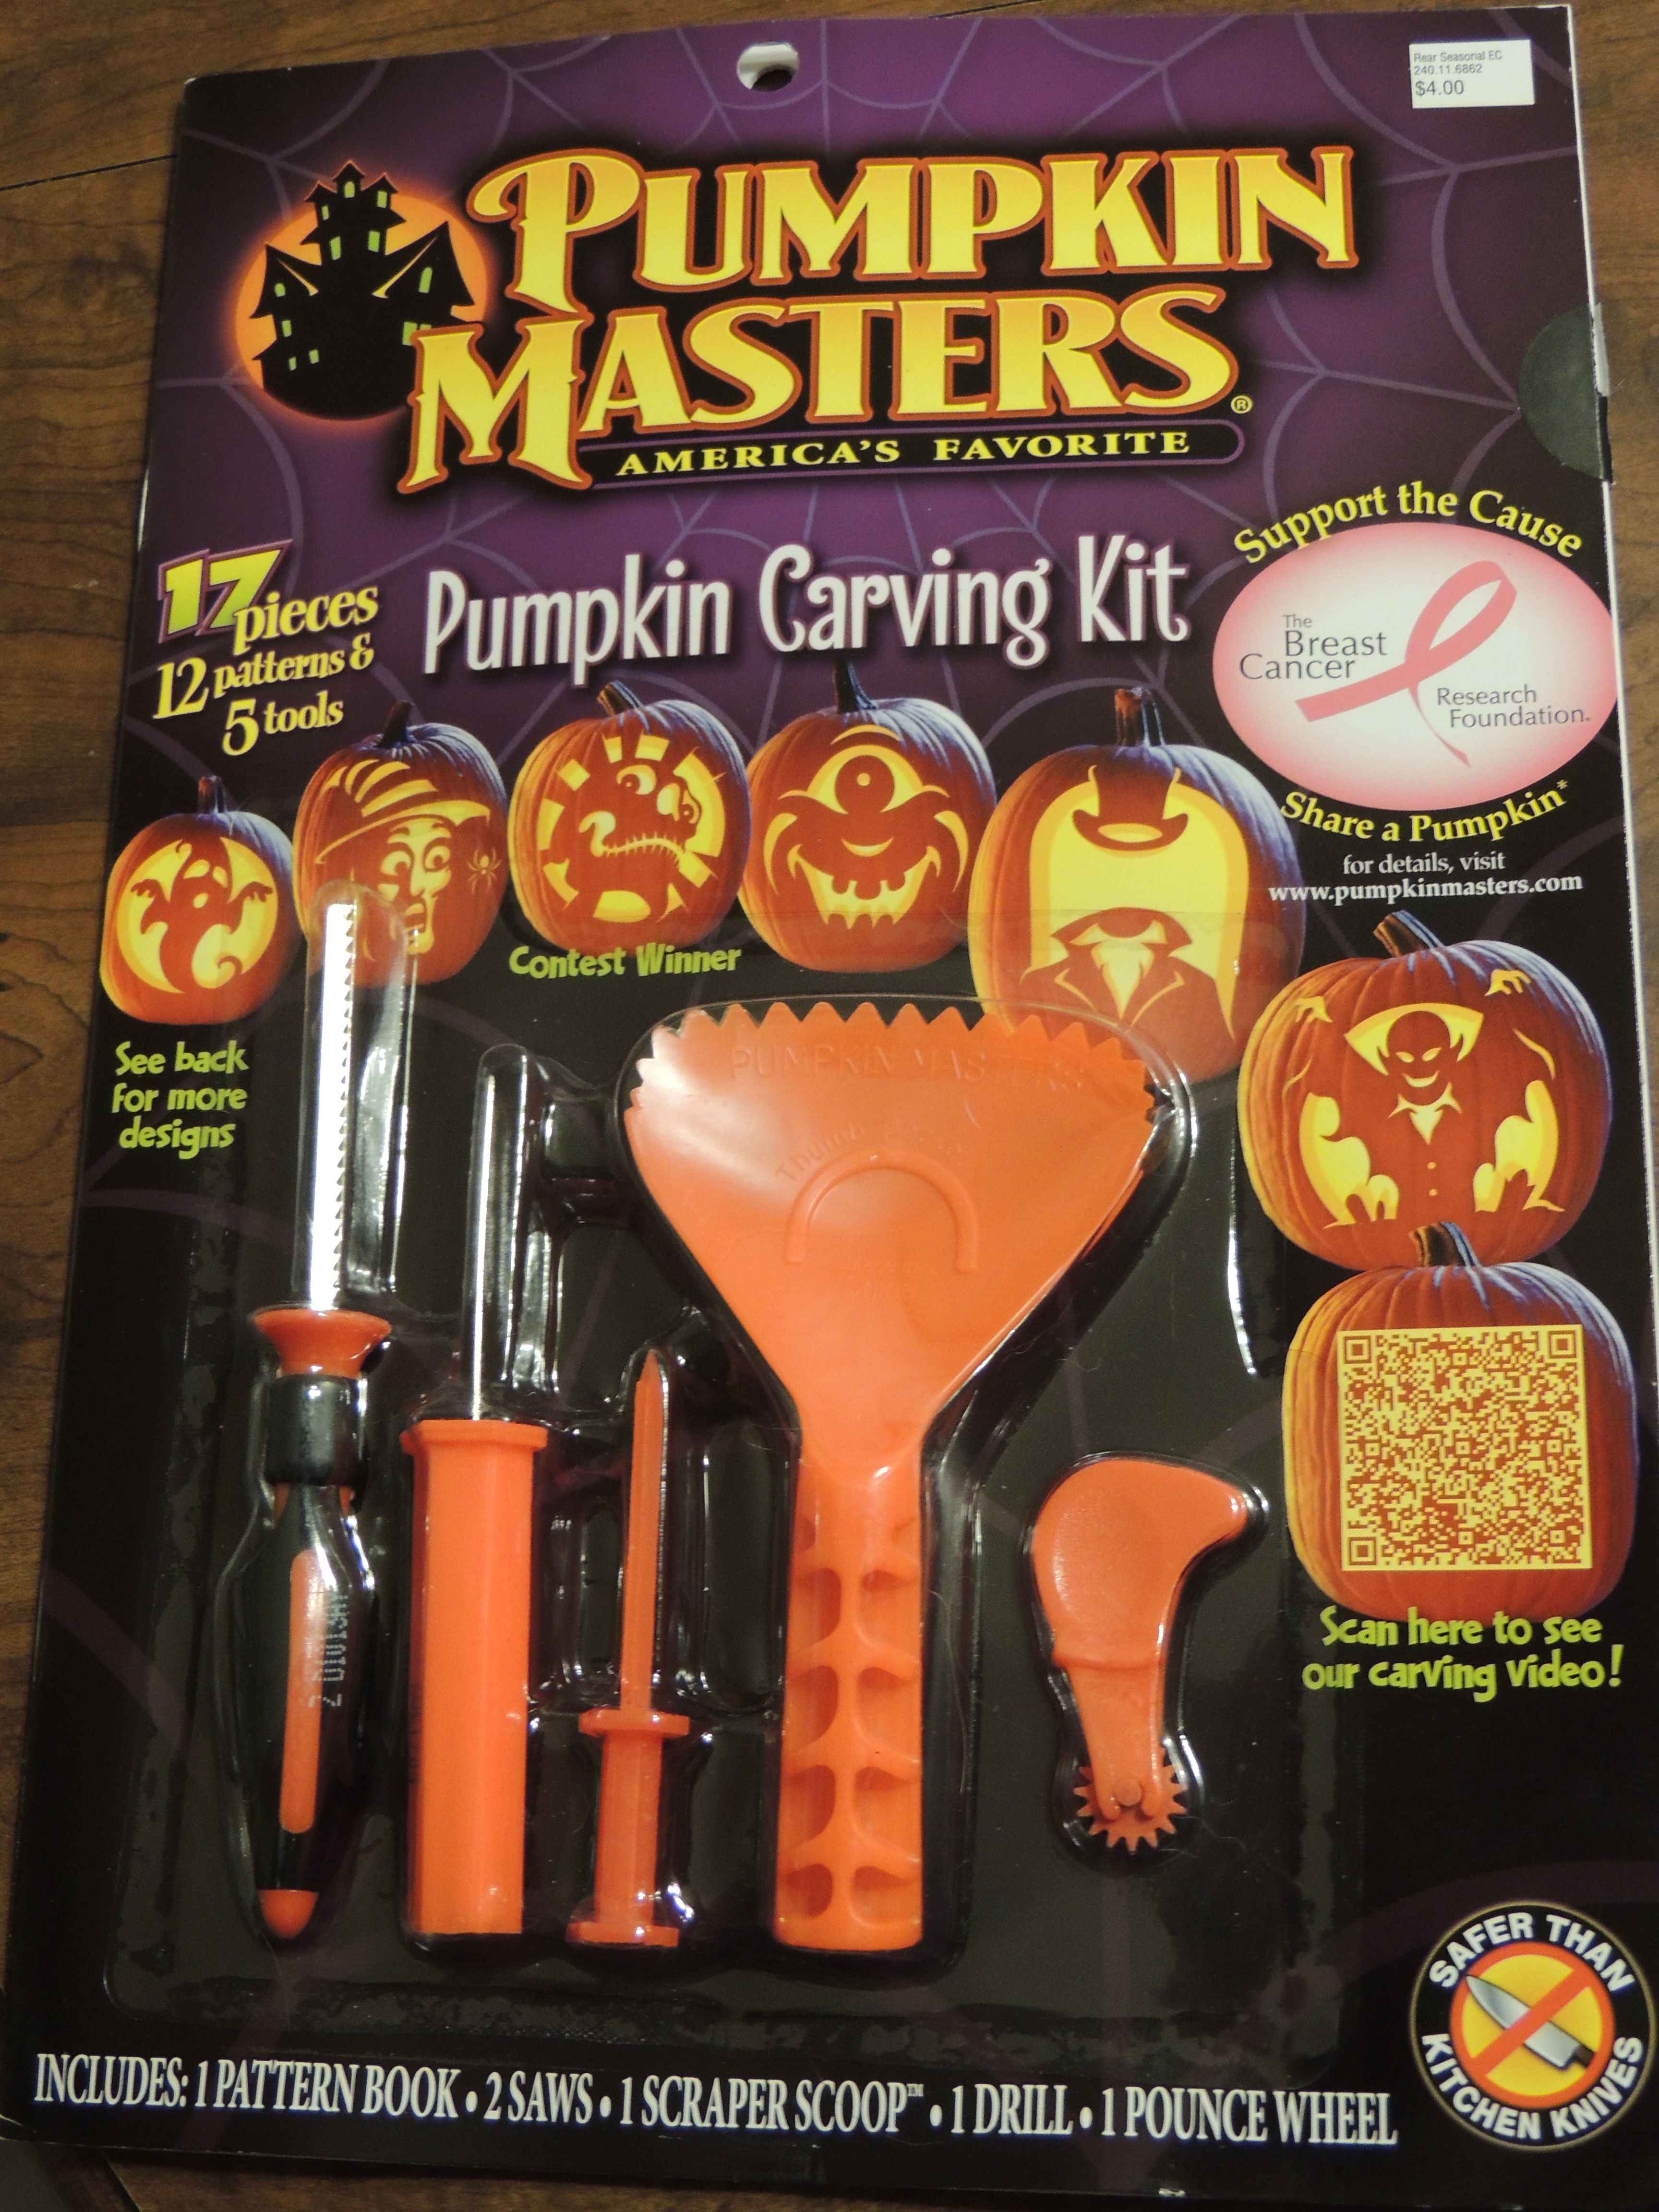
Start with a template, I buy a new book every year. I have enough patterns to carve, oh, probably 80 pumpkins (and would if they were sold year-round, were cheaper and lasted longer).
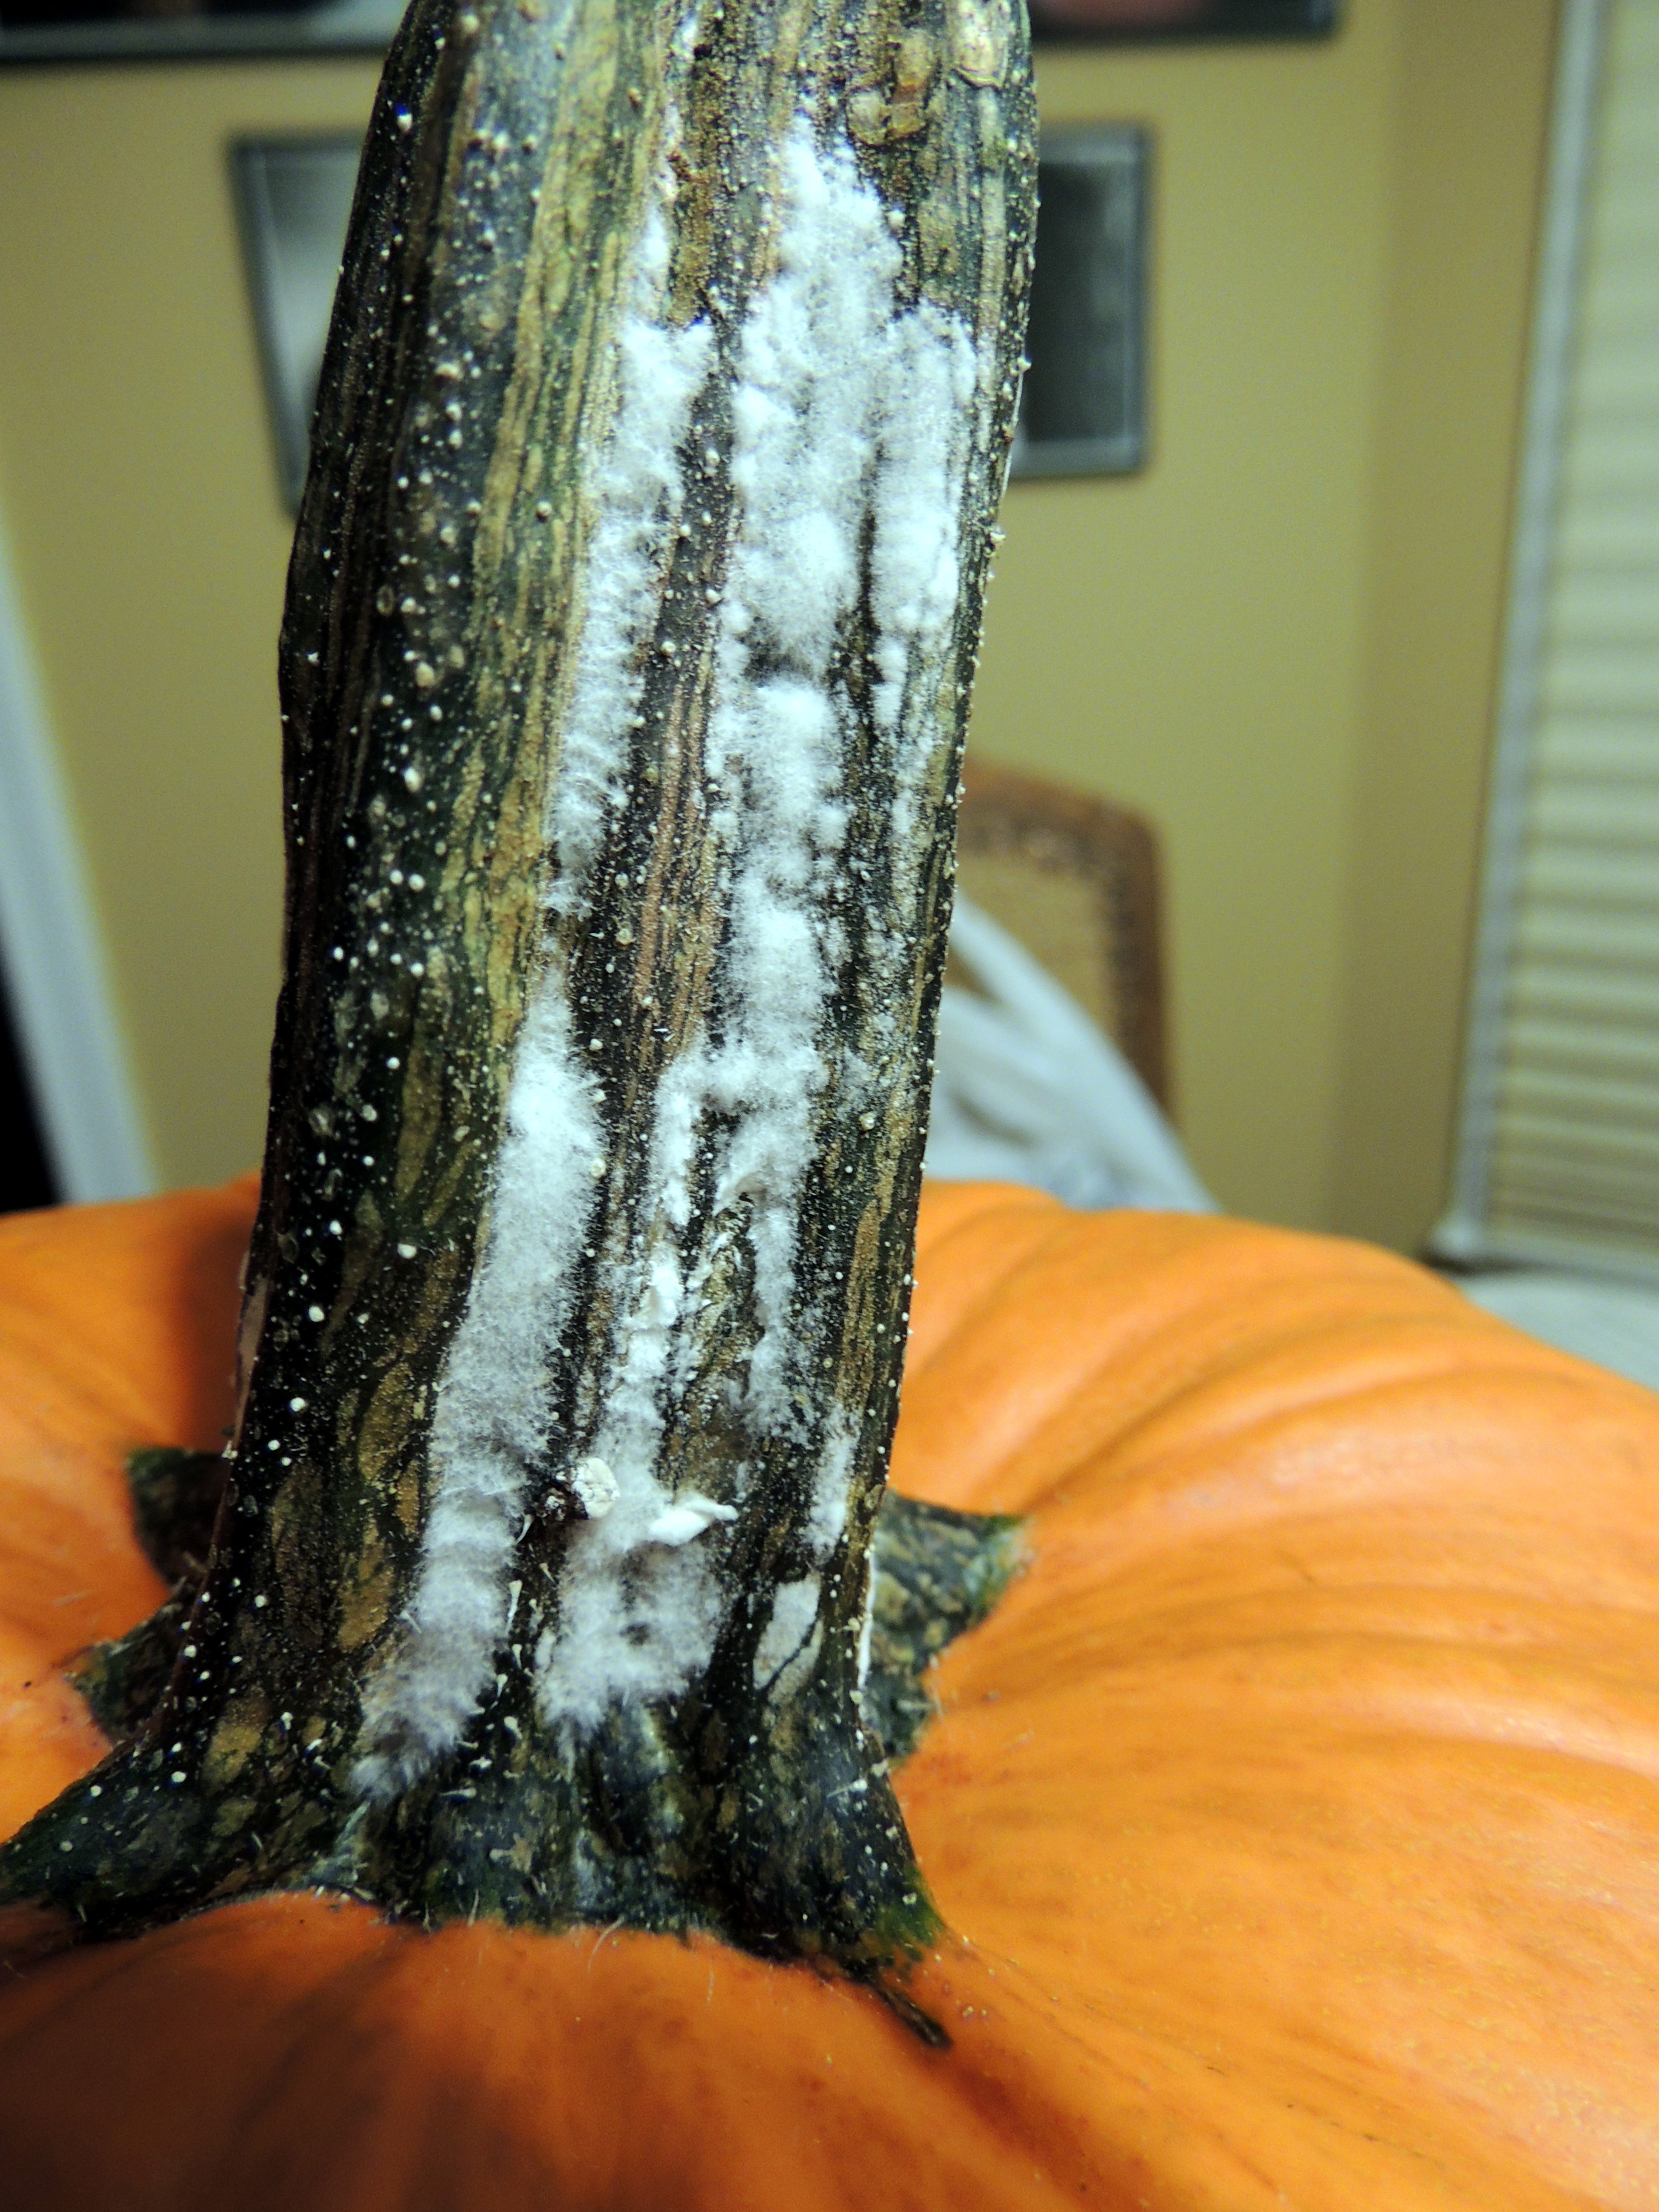
Always choose your pattern first, it will help you determine what shape of pumpkin you’ll need. Also find one that has a flat and smooth side to it. And always pick a pumpkin with a nice tall stem (this one happened to grow some mold after I bought it, gross, but kinda cool).

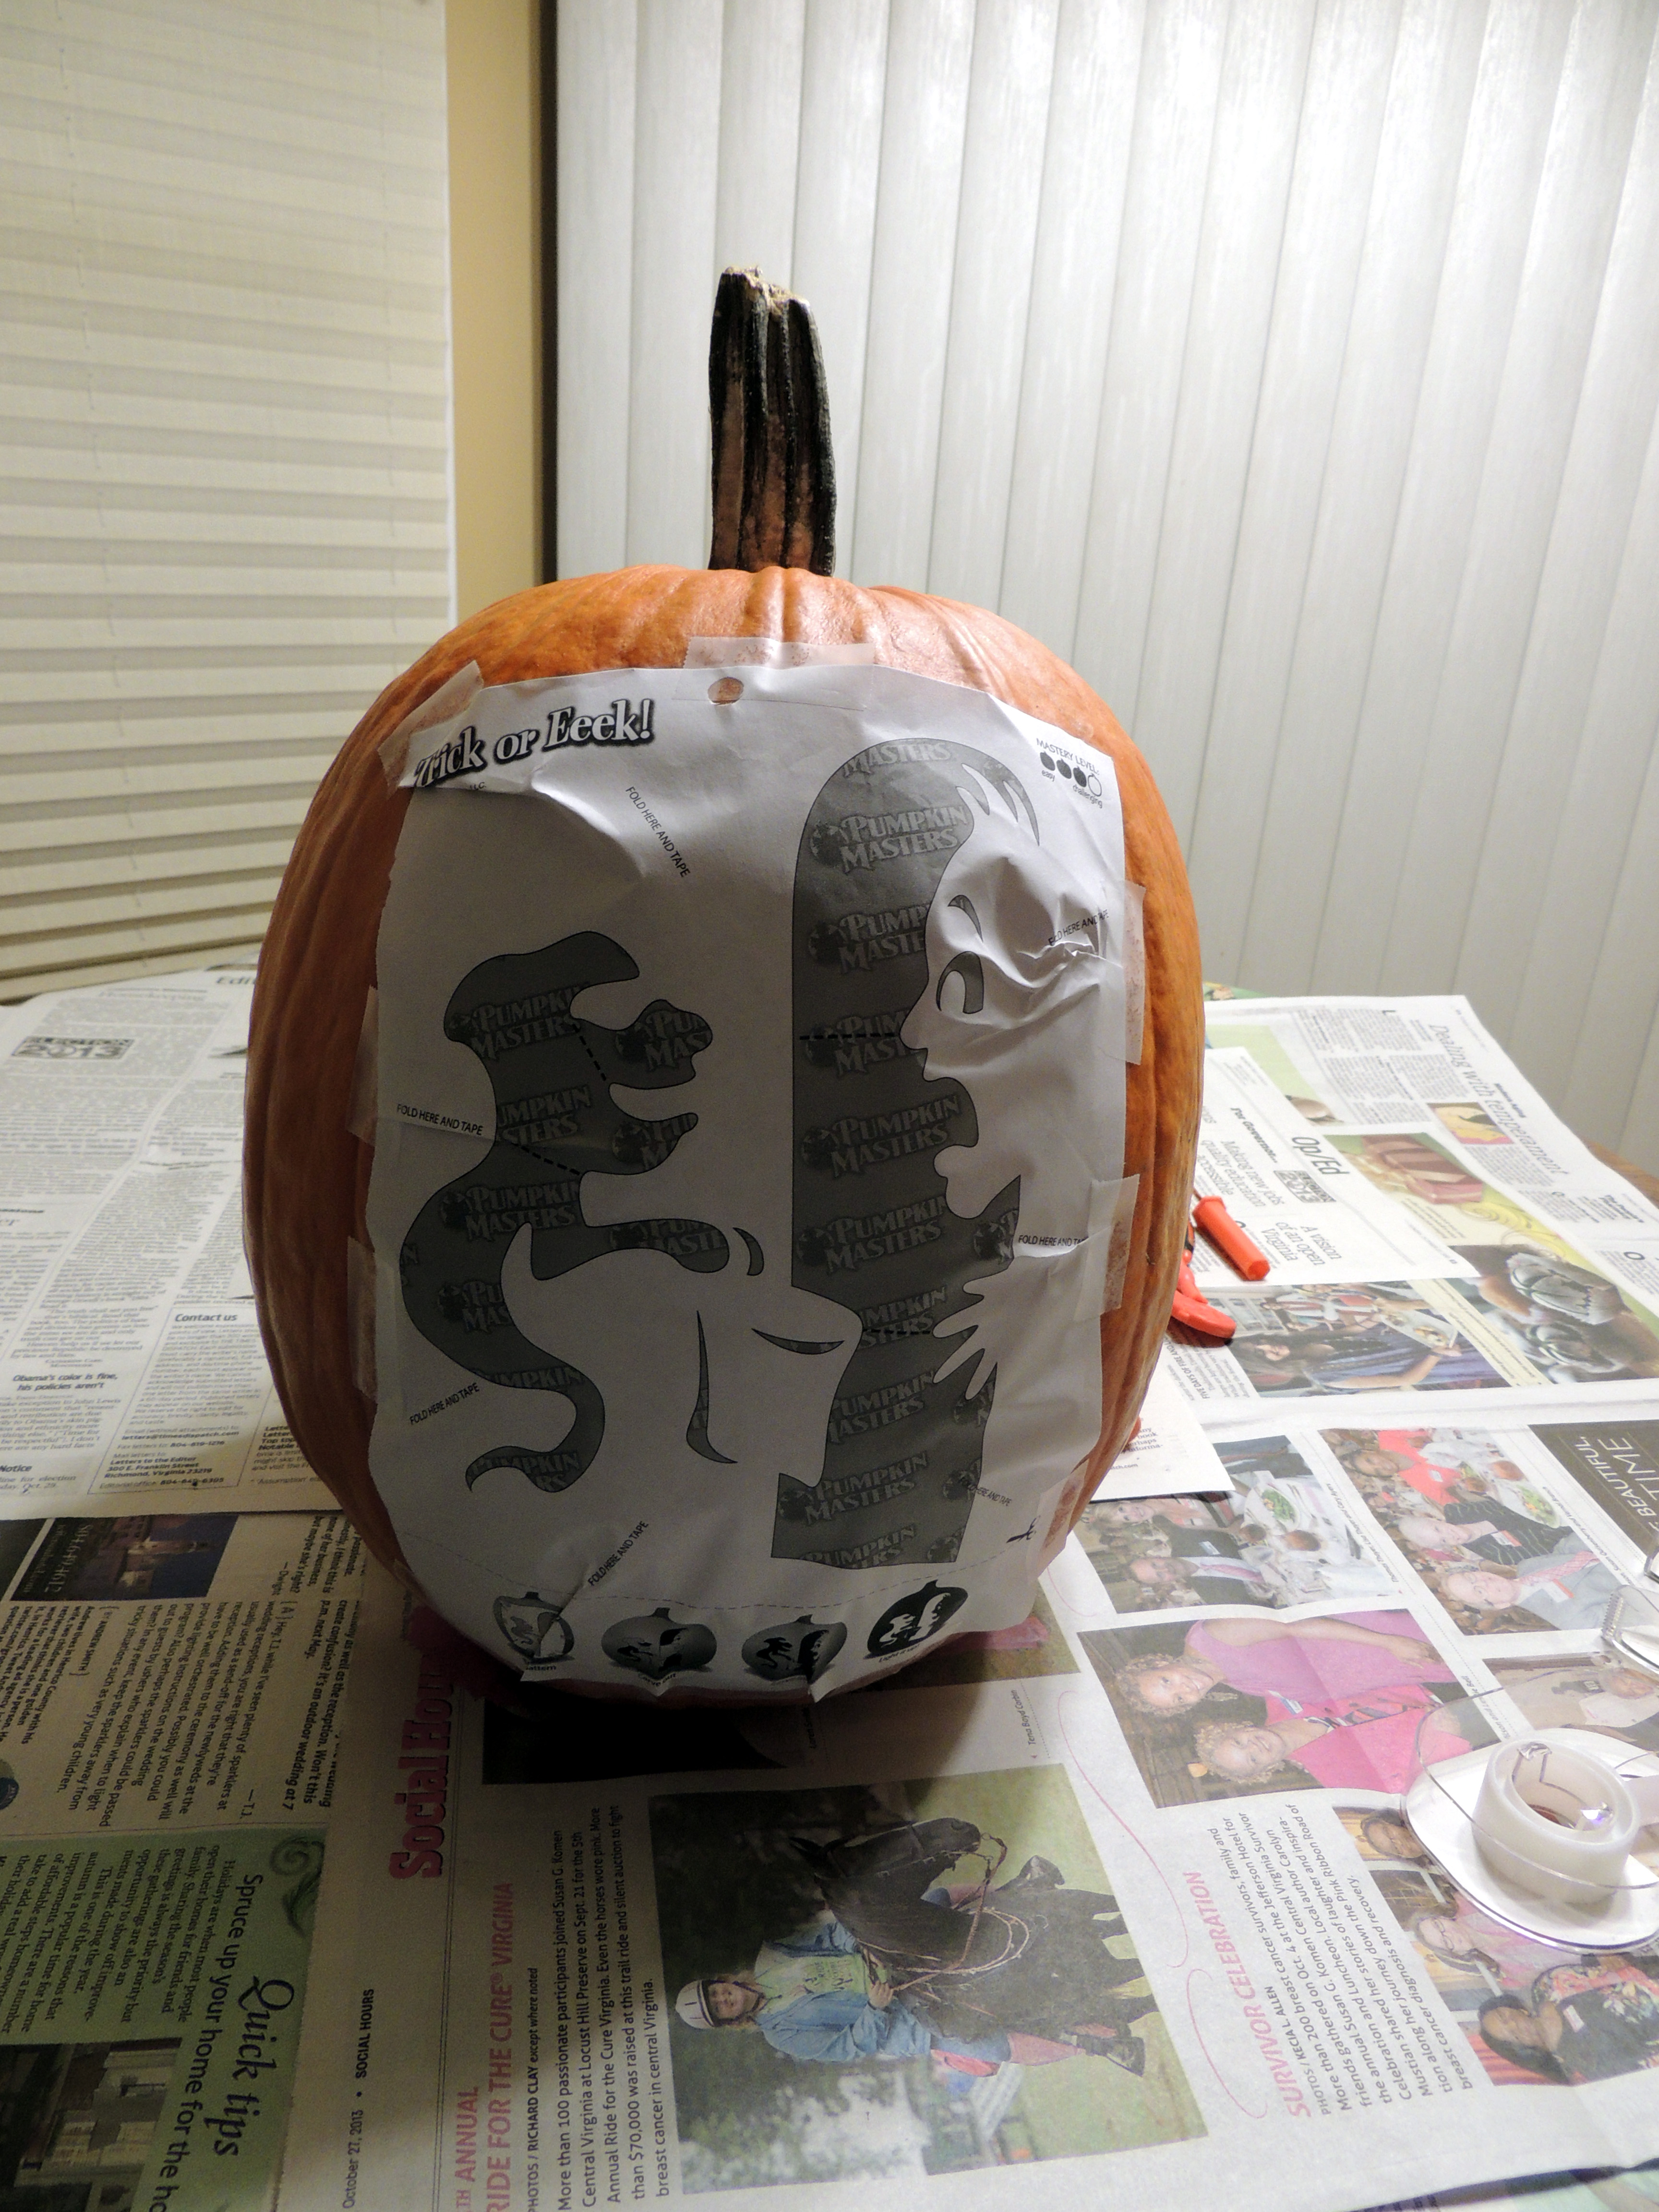
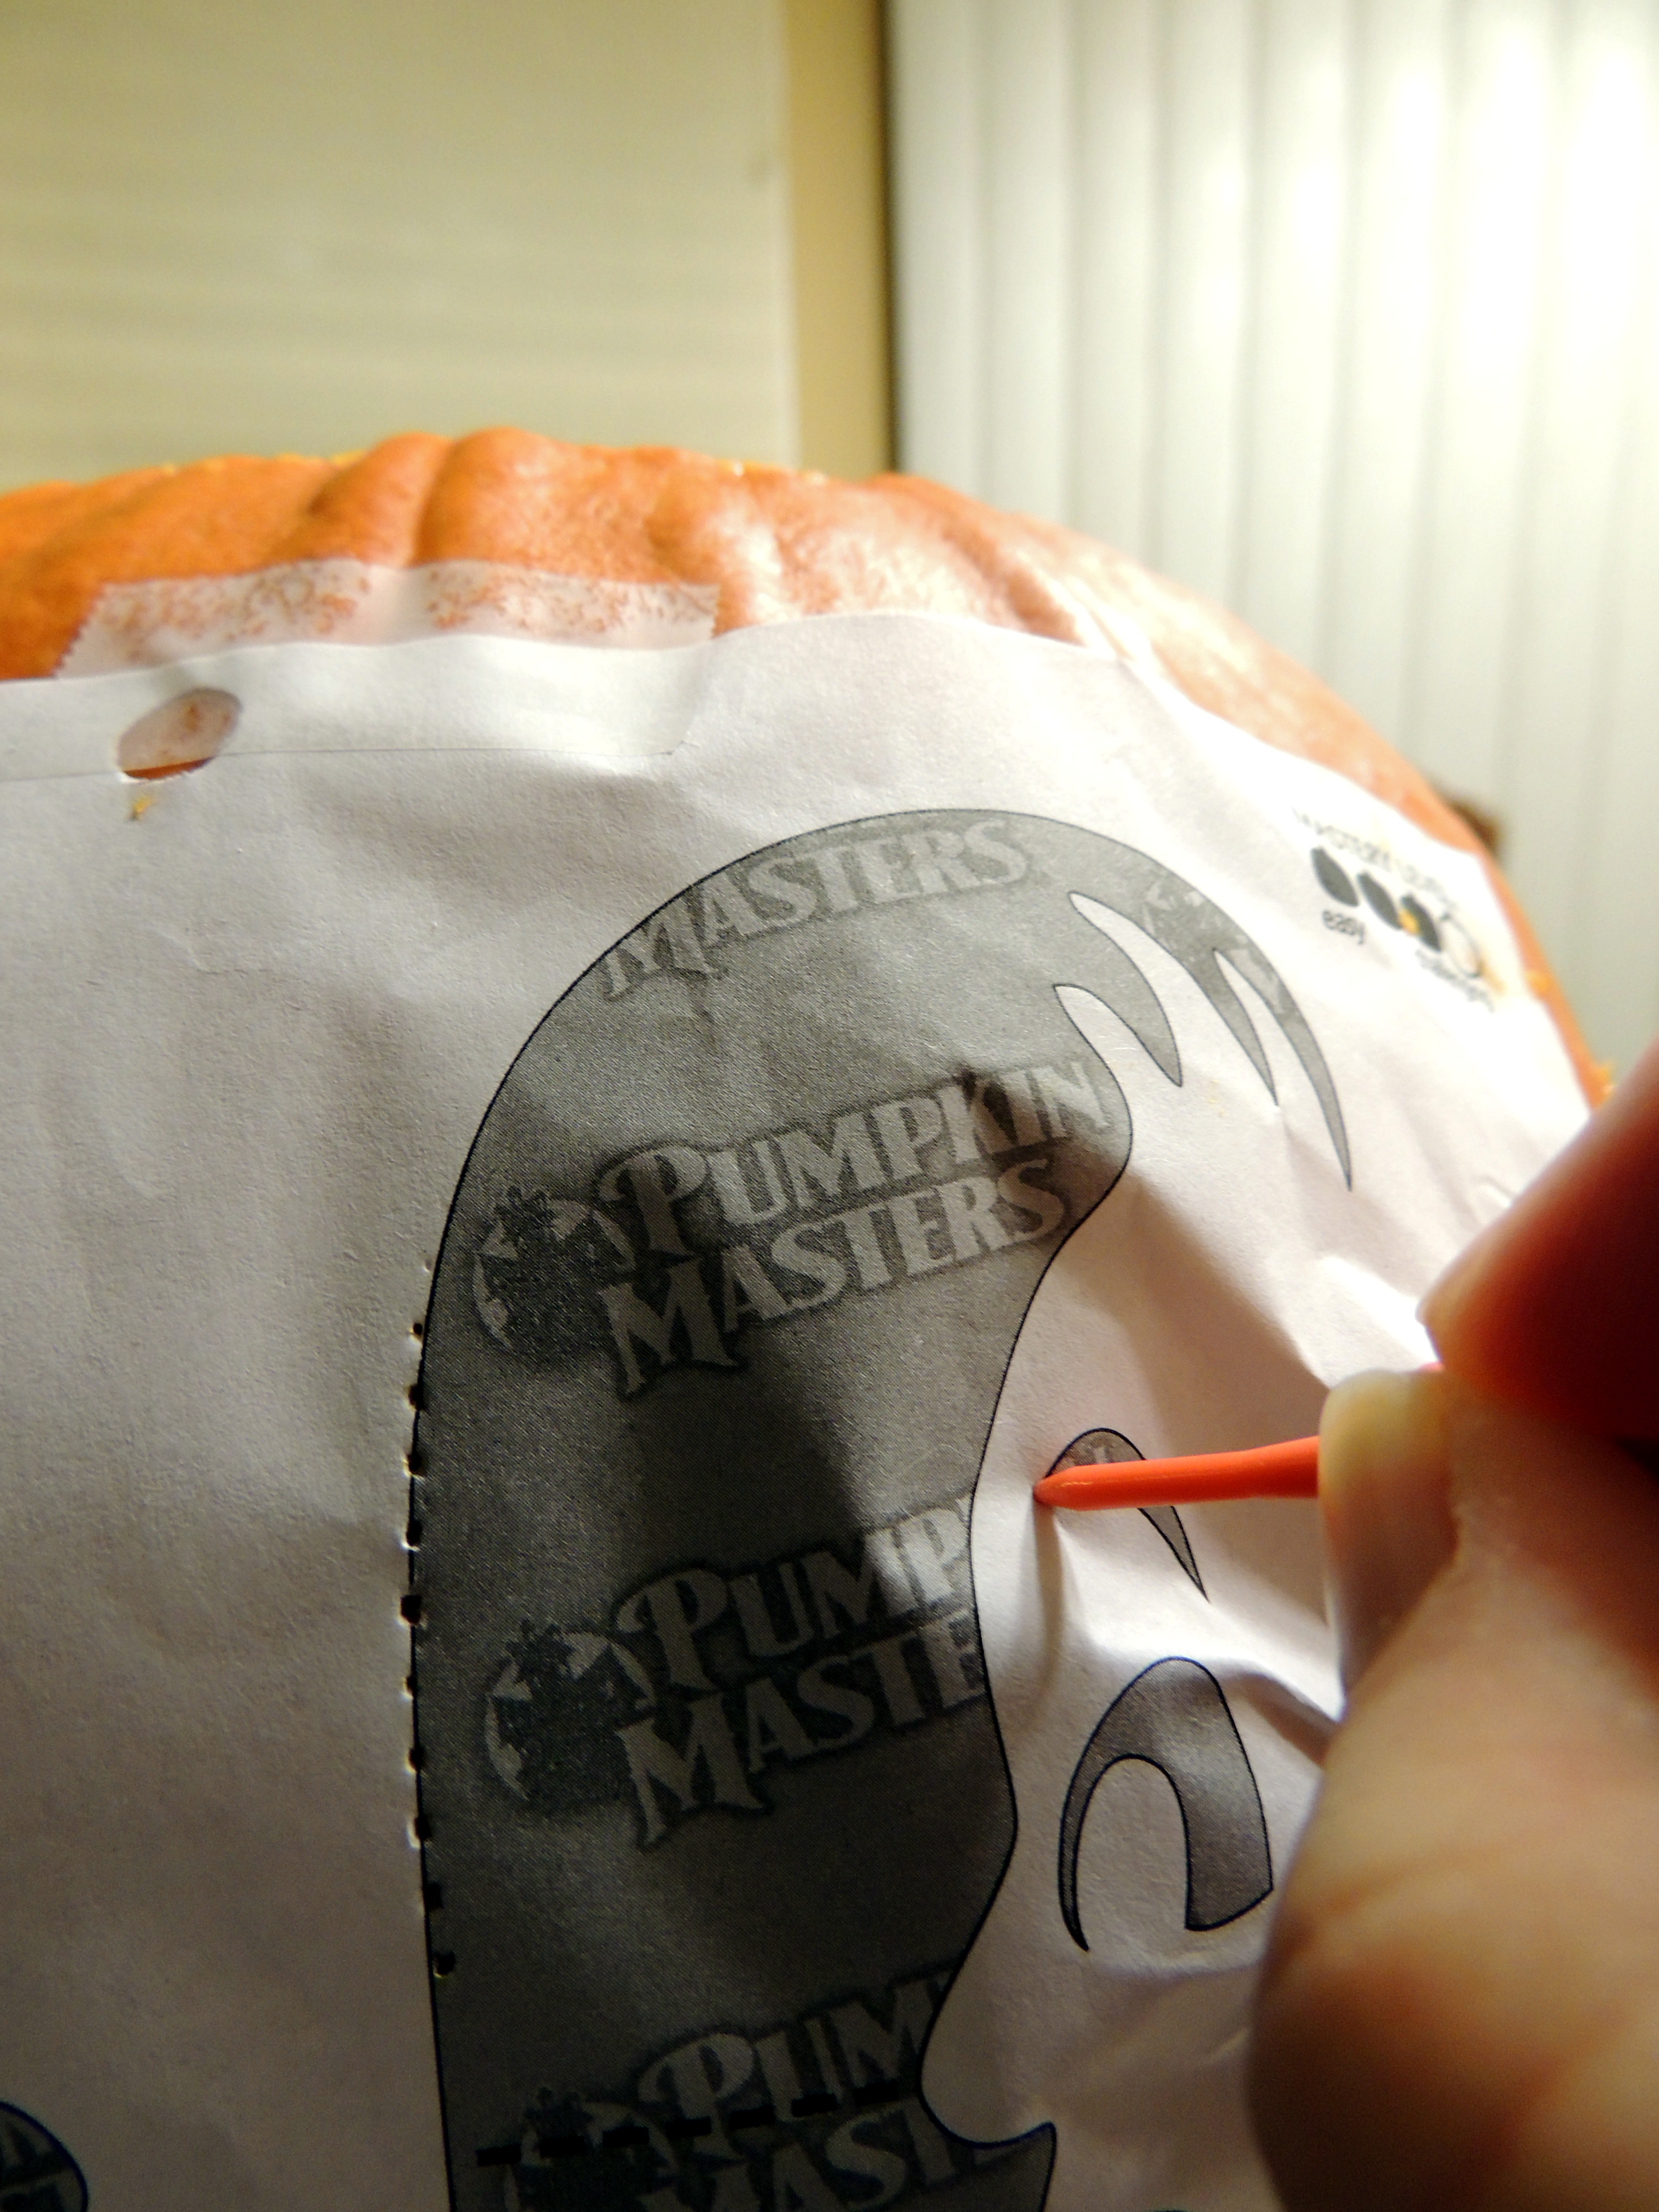
Find the perfect side and tape the pattern, folding the paper as you need to in order to make it as smooth as possible.
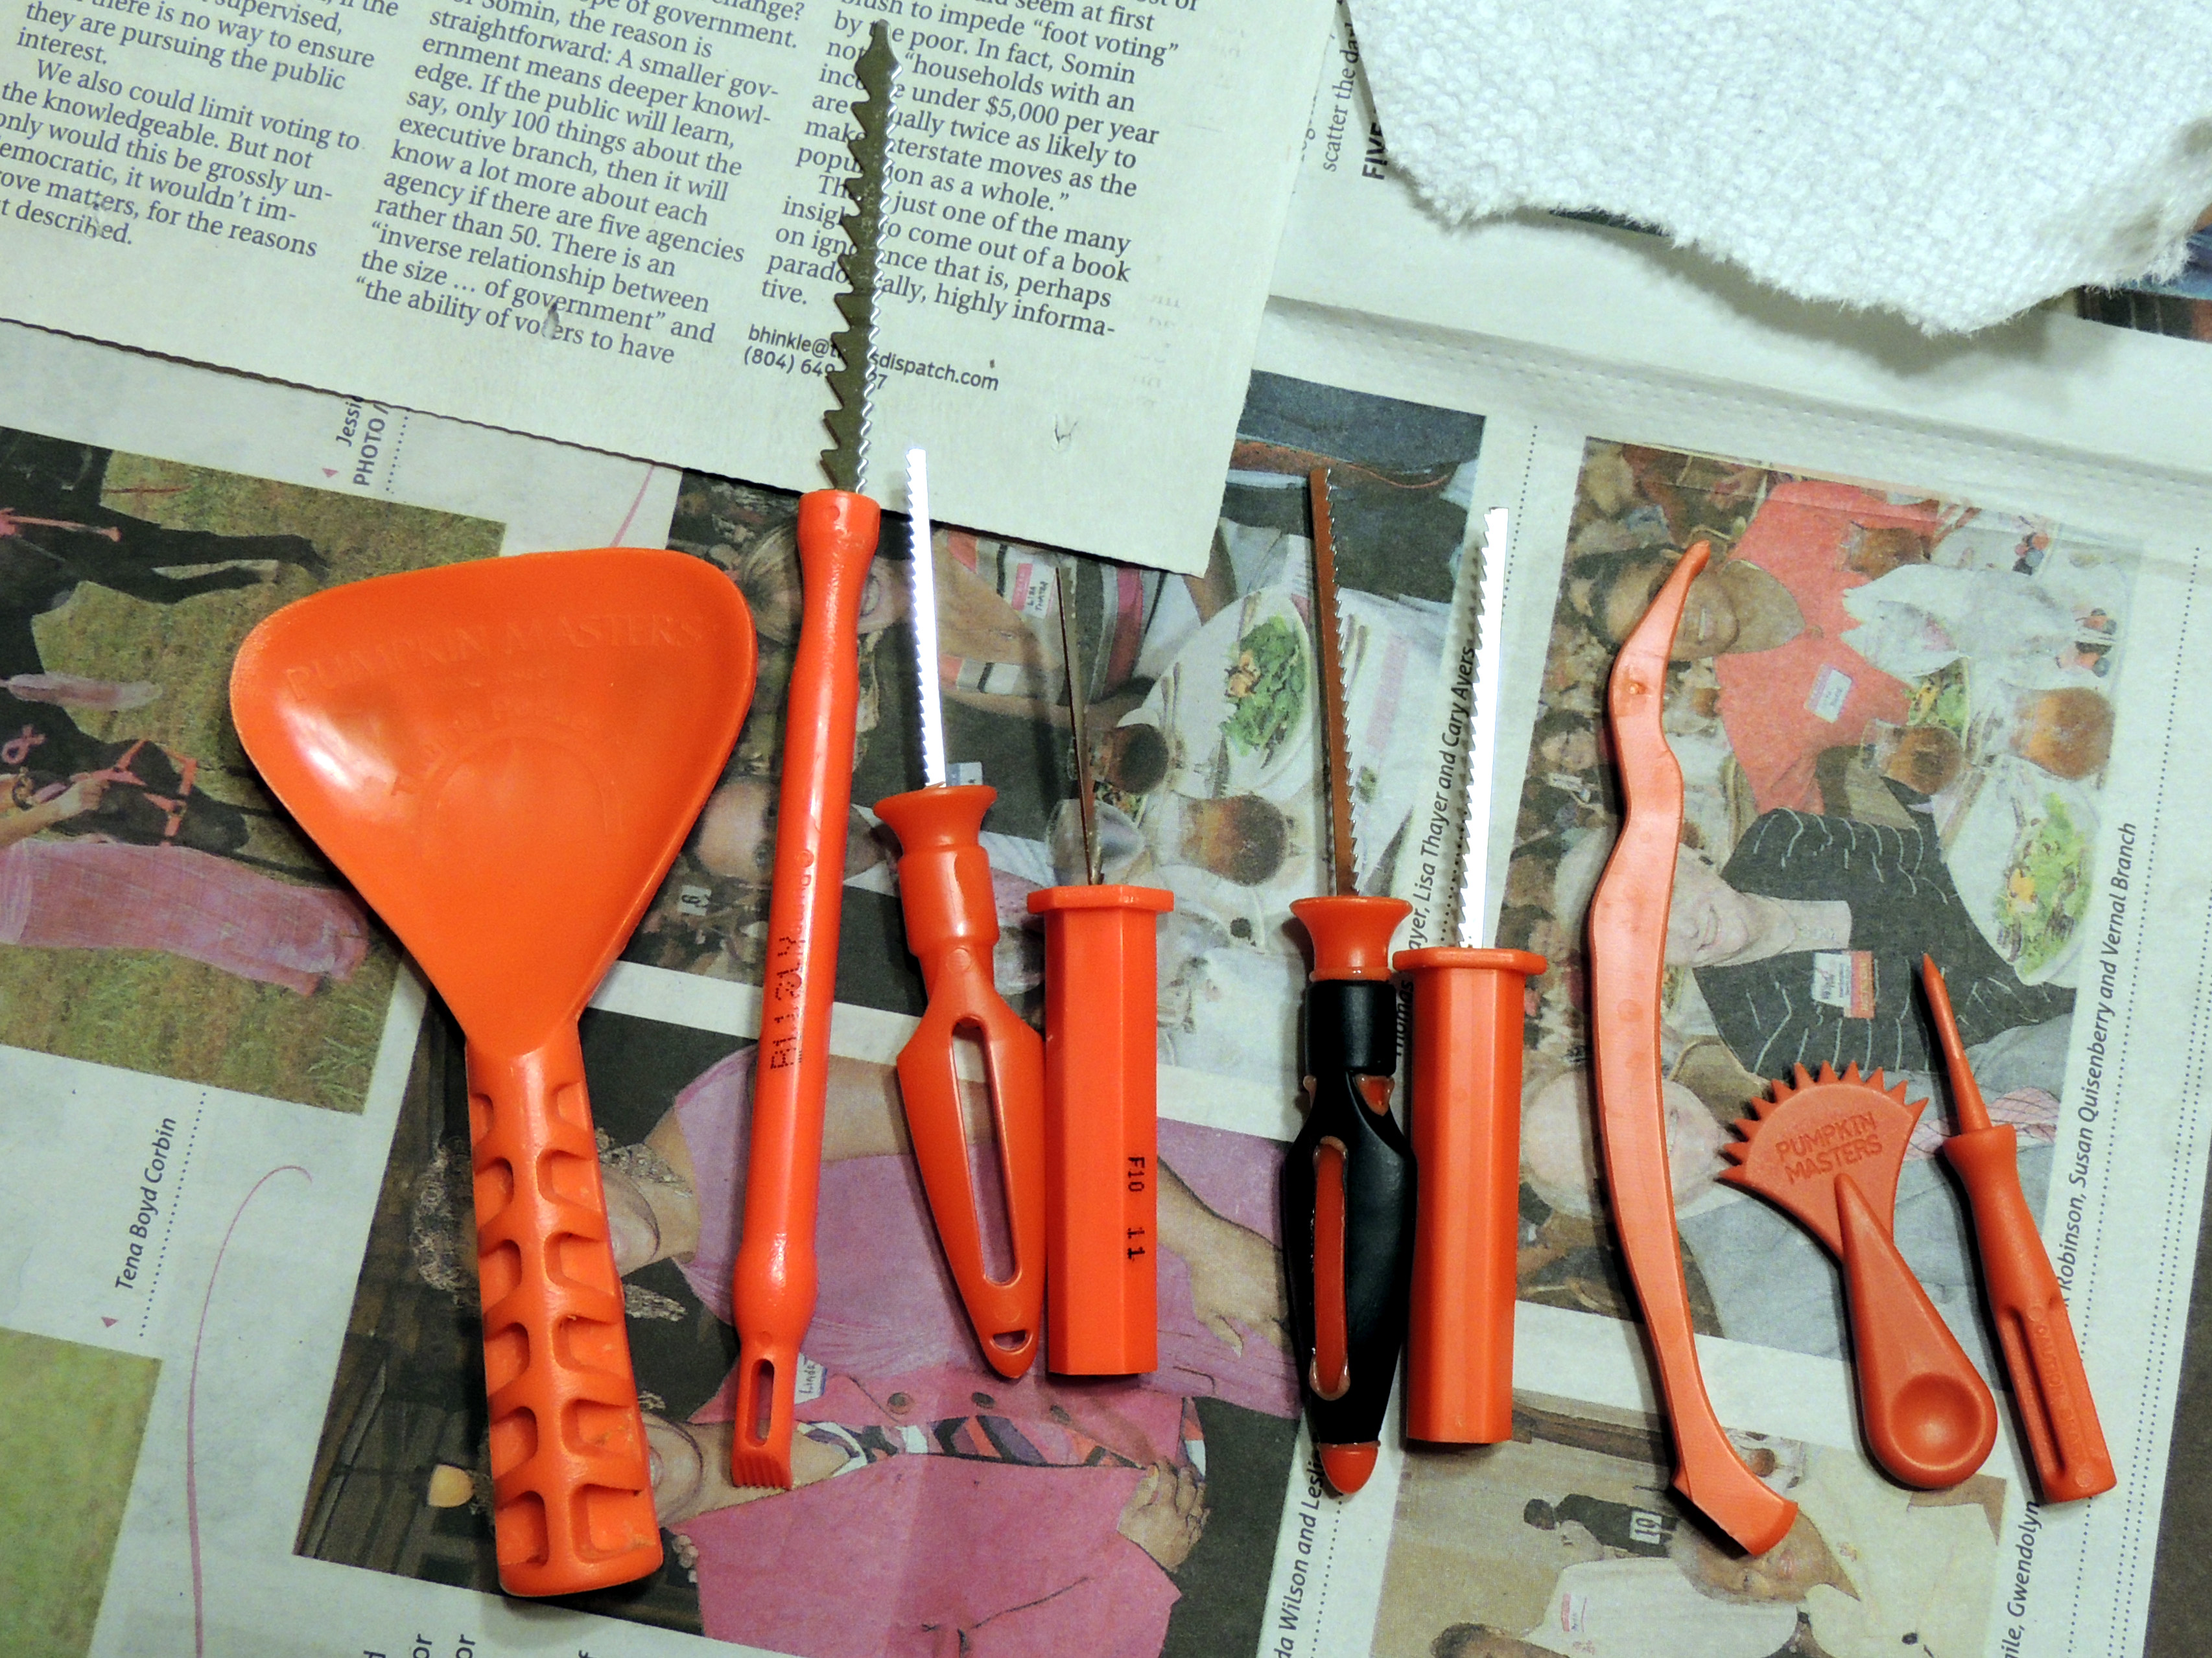
Do NOT use standard kitchen knives or utensils. The template books usually come with a least a few made-for-carving knives and they work perfectly! They all may look the same but each has its own function.
Cut the opening in the top. I recommend cutting a point into the back so you will easily know how to lay the top back on.

Time to gut it!


Now for the tedious part. Poke holes in the template, basically a connect-the-dots game, only you’re creating the dots you’ll follow later.

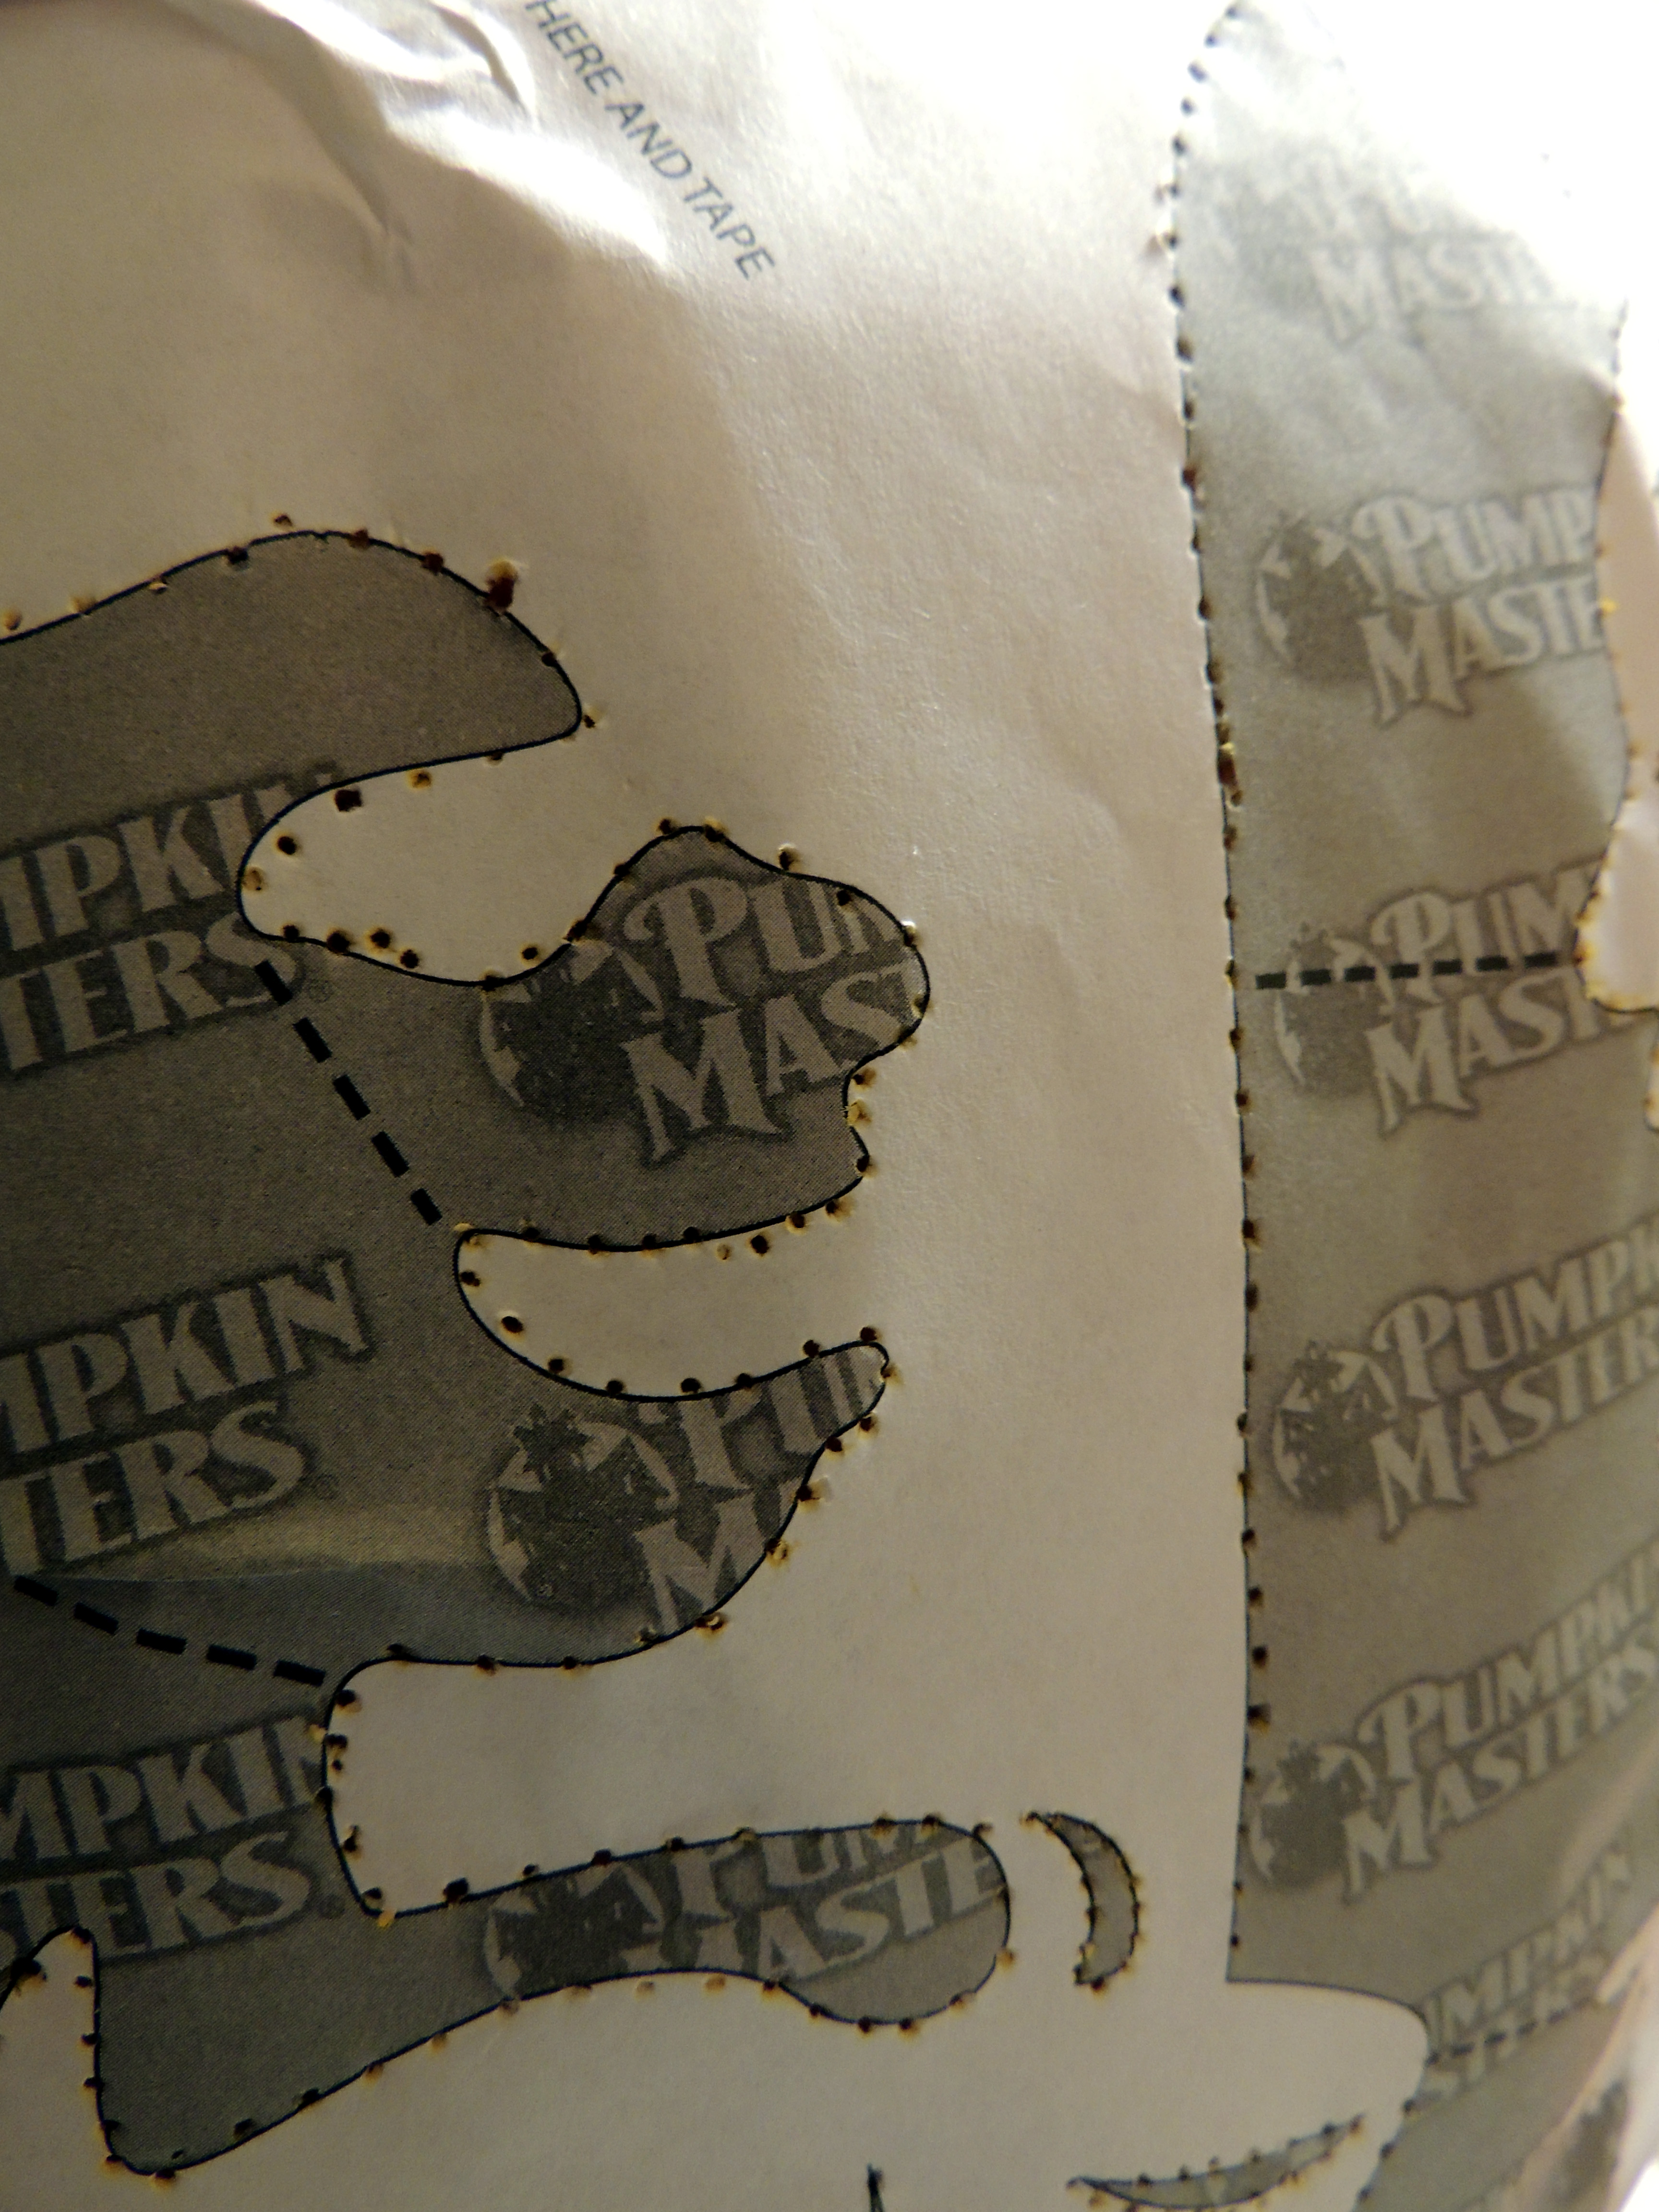
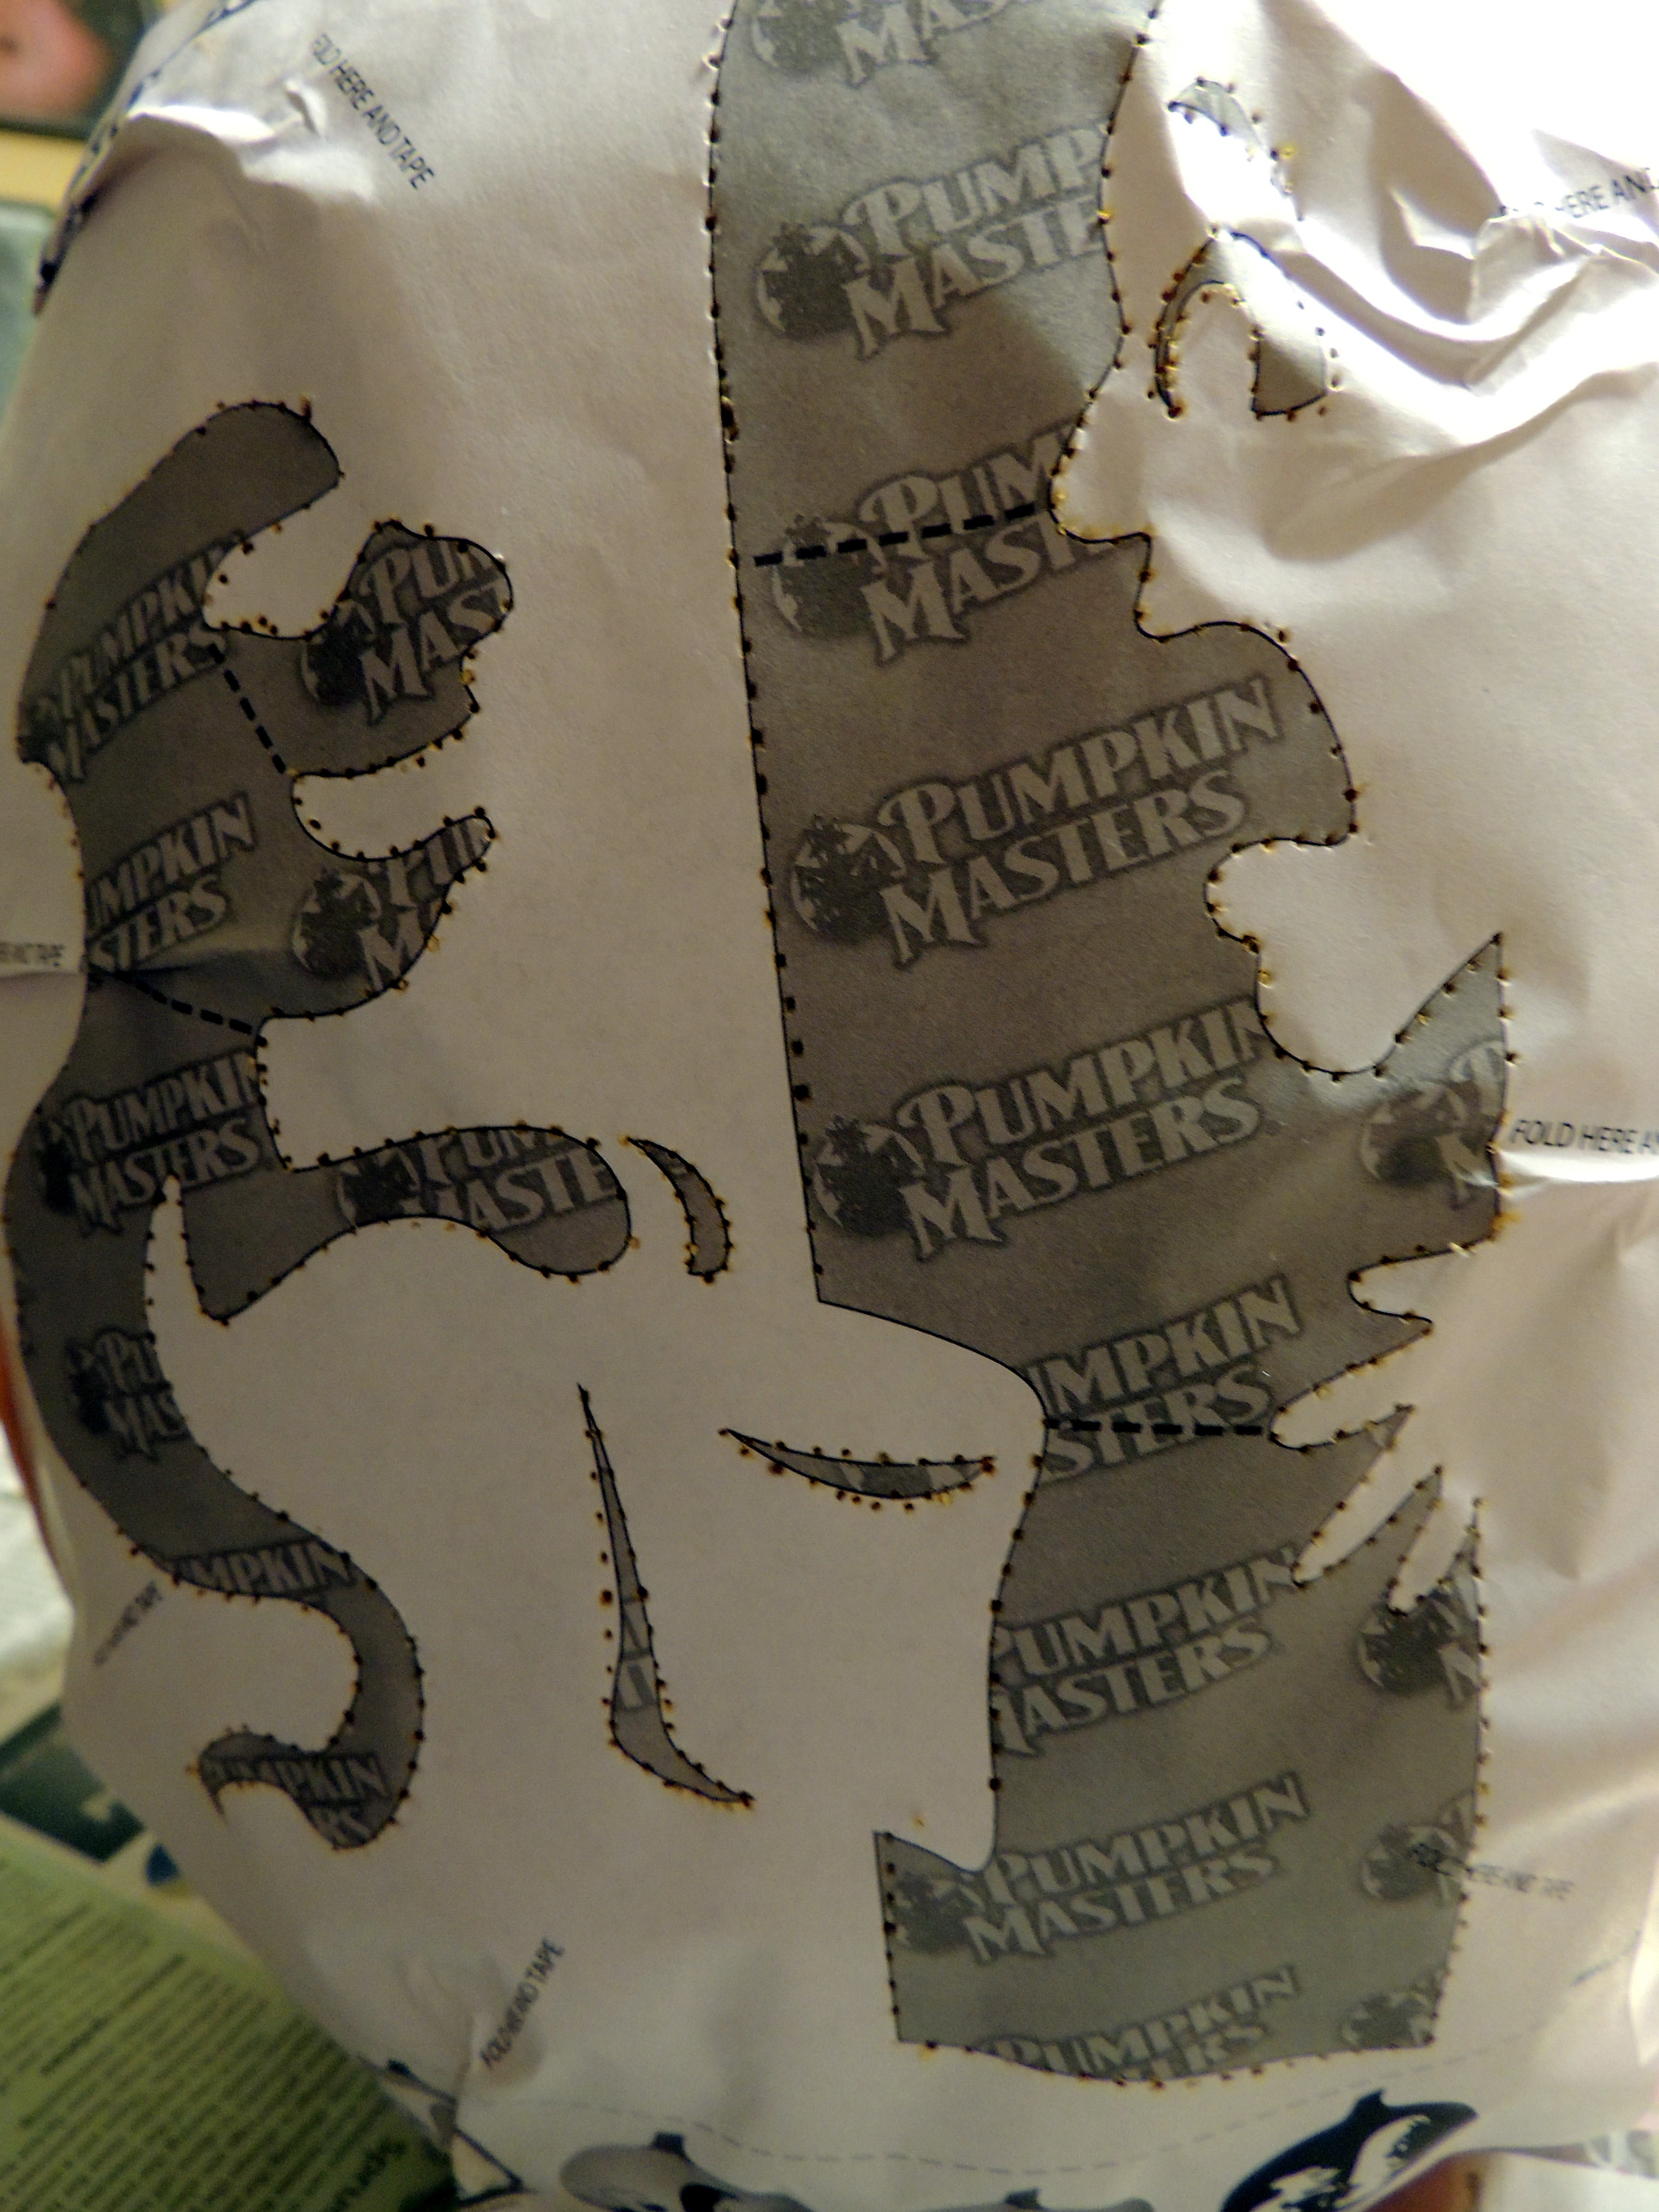
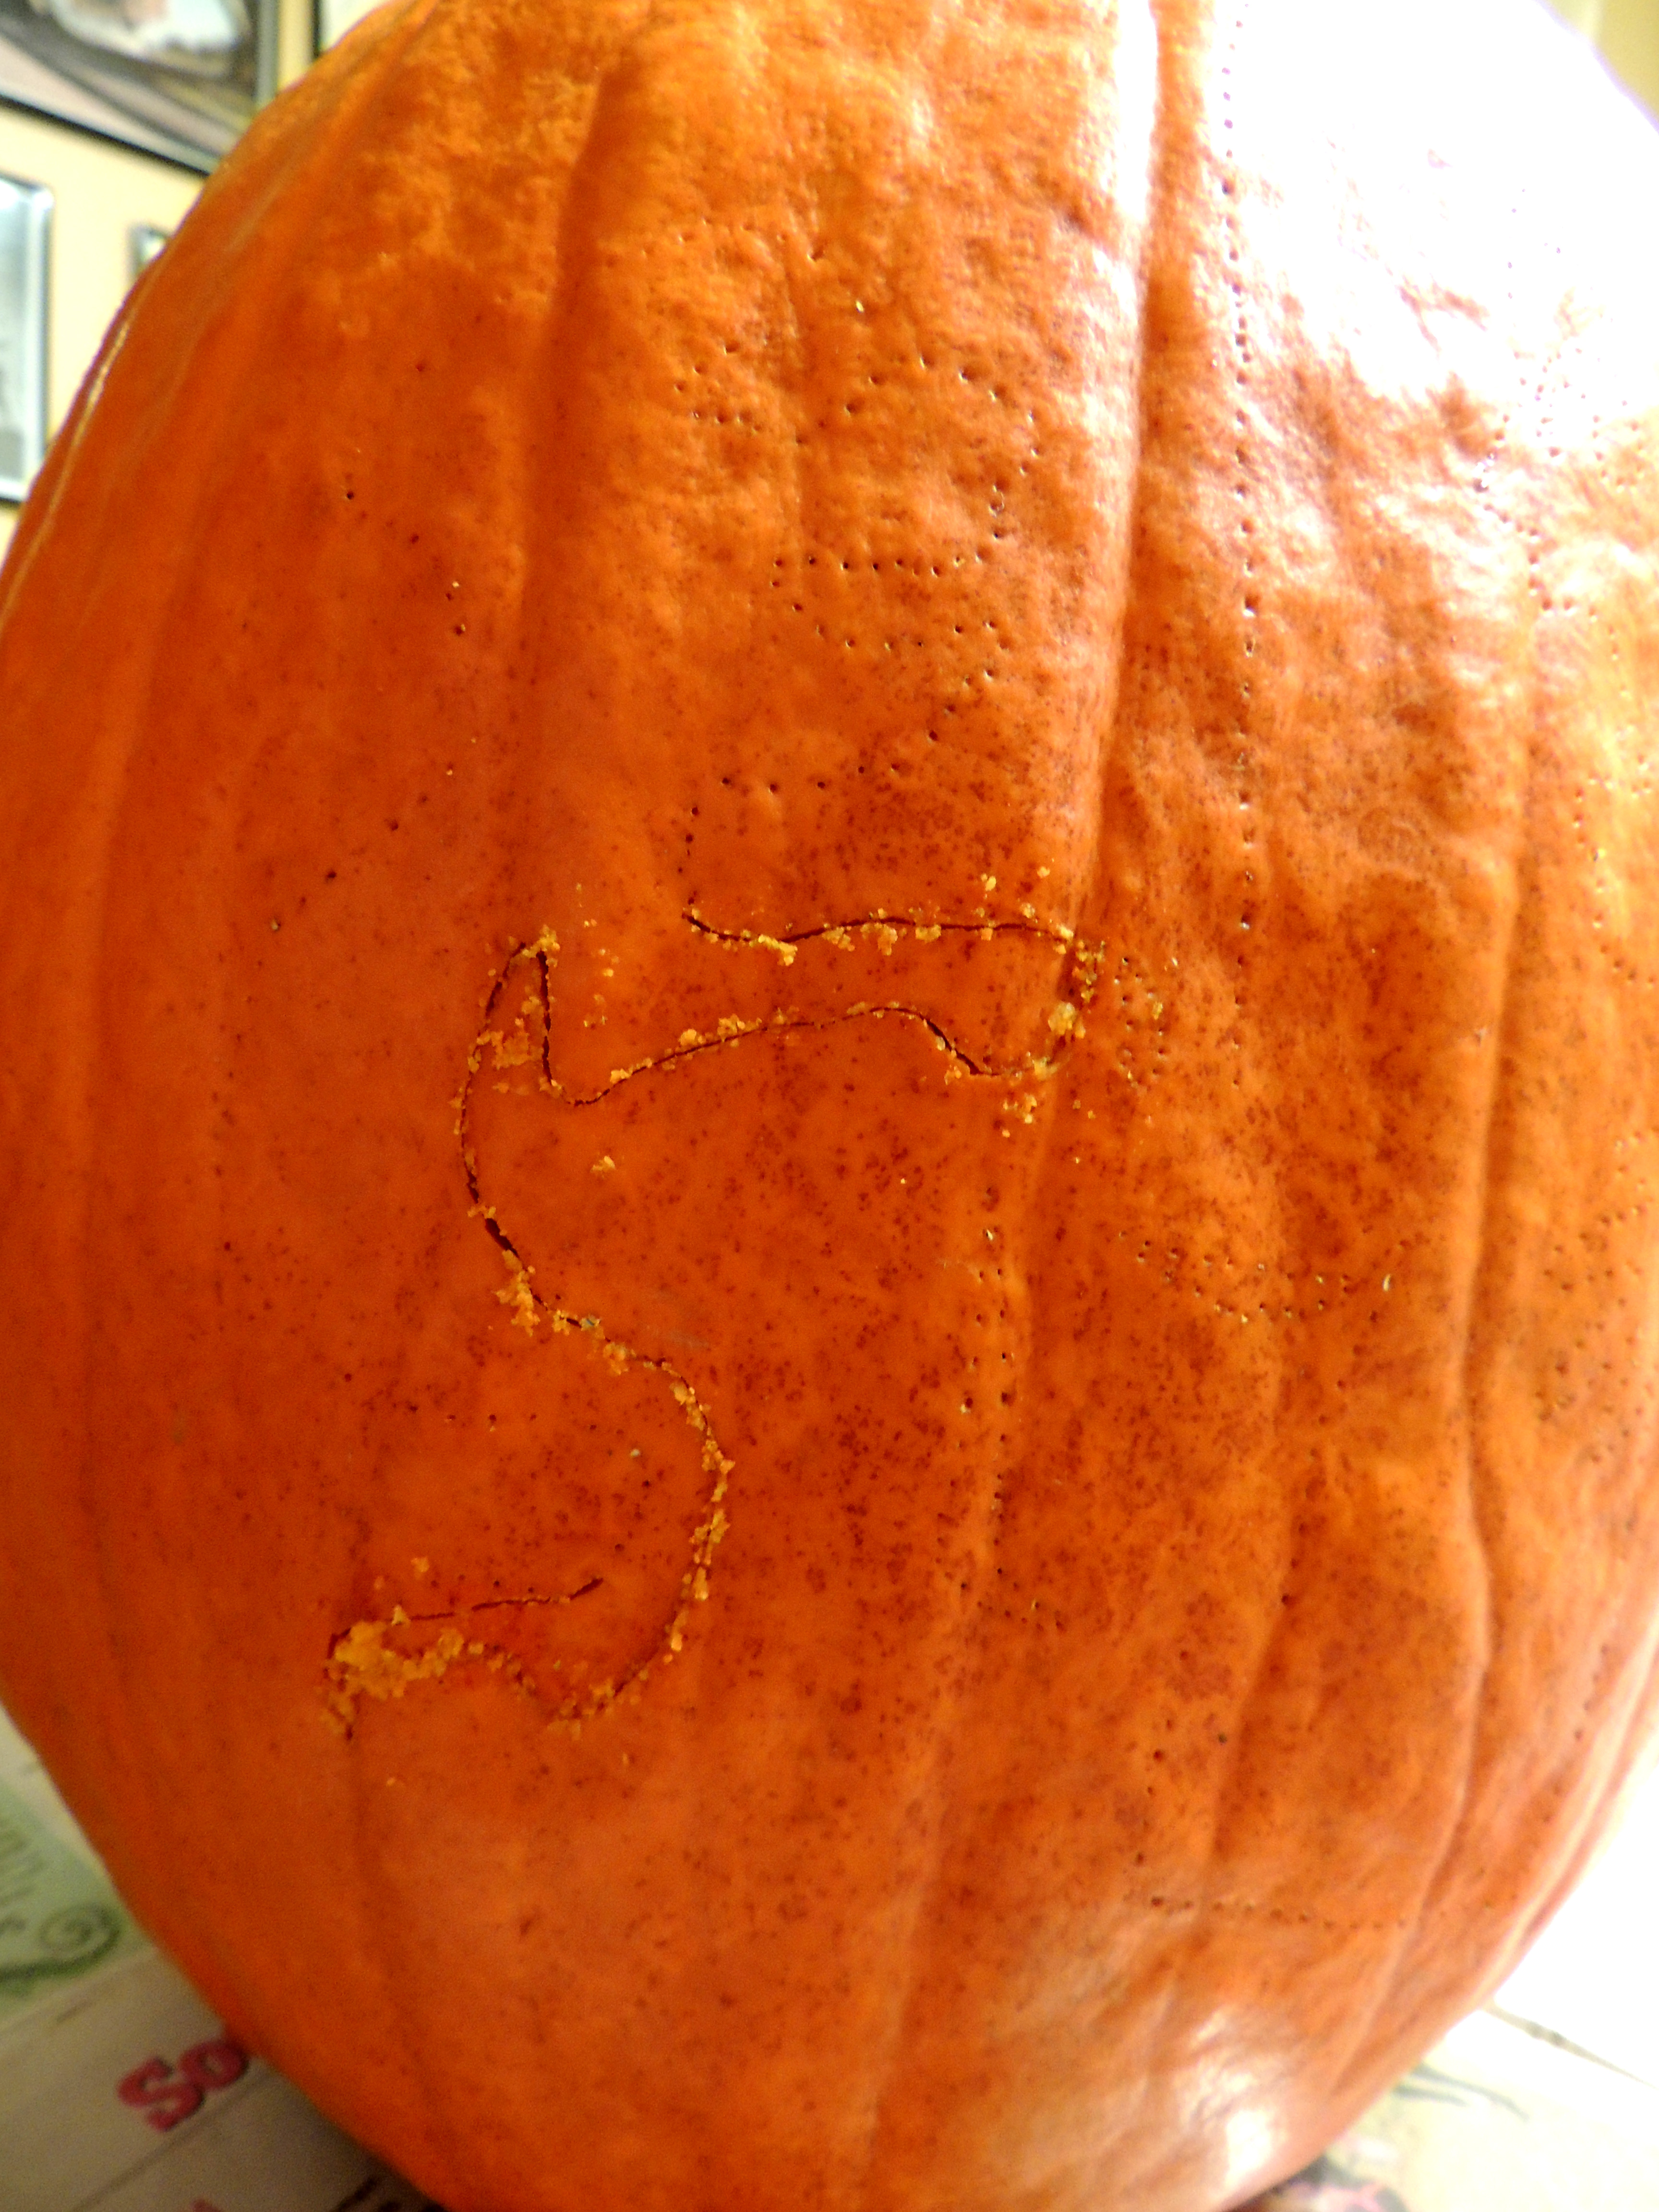
Once you’re done, pull the paper gently away, you’ll need to reference it as you’re carving. You’ll be left with a very faint outline of your pattern. Carefully start carving ;-)


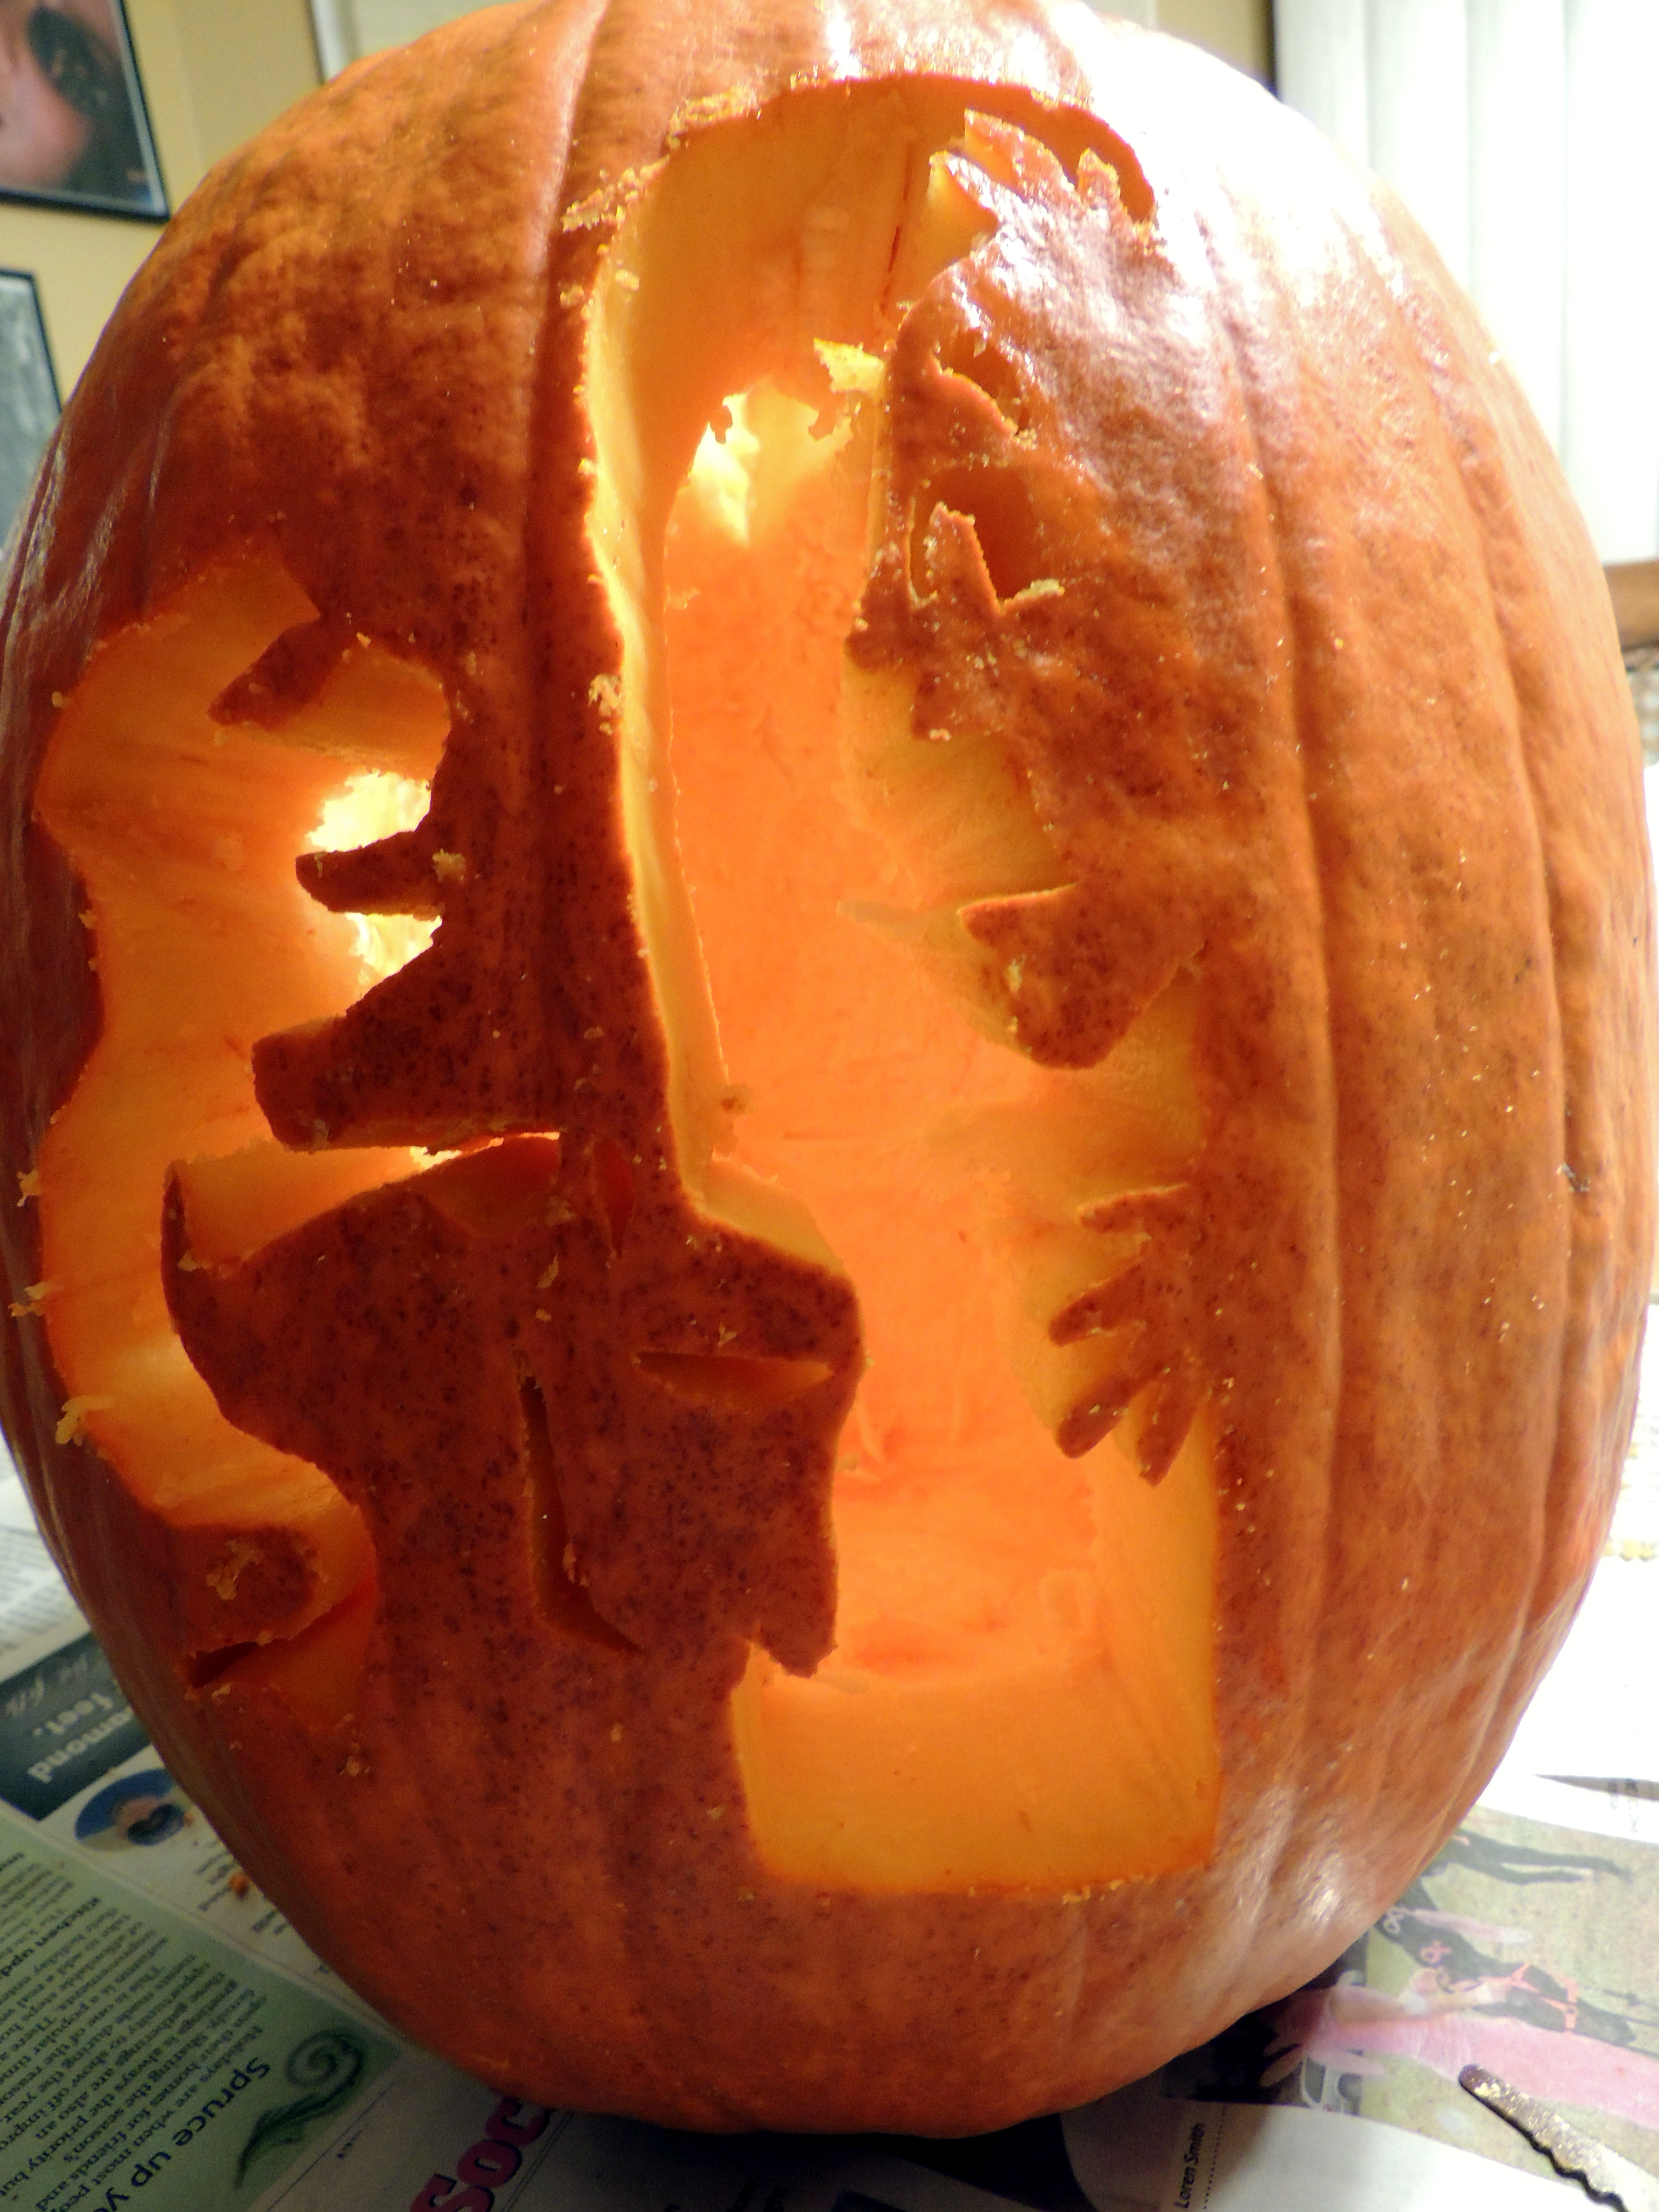

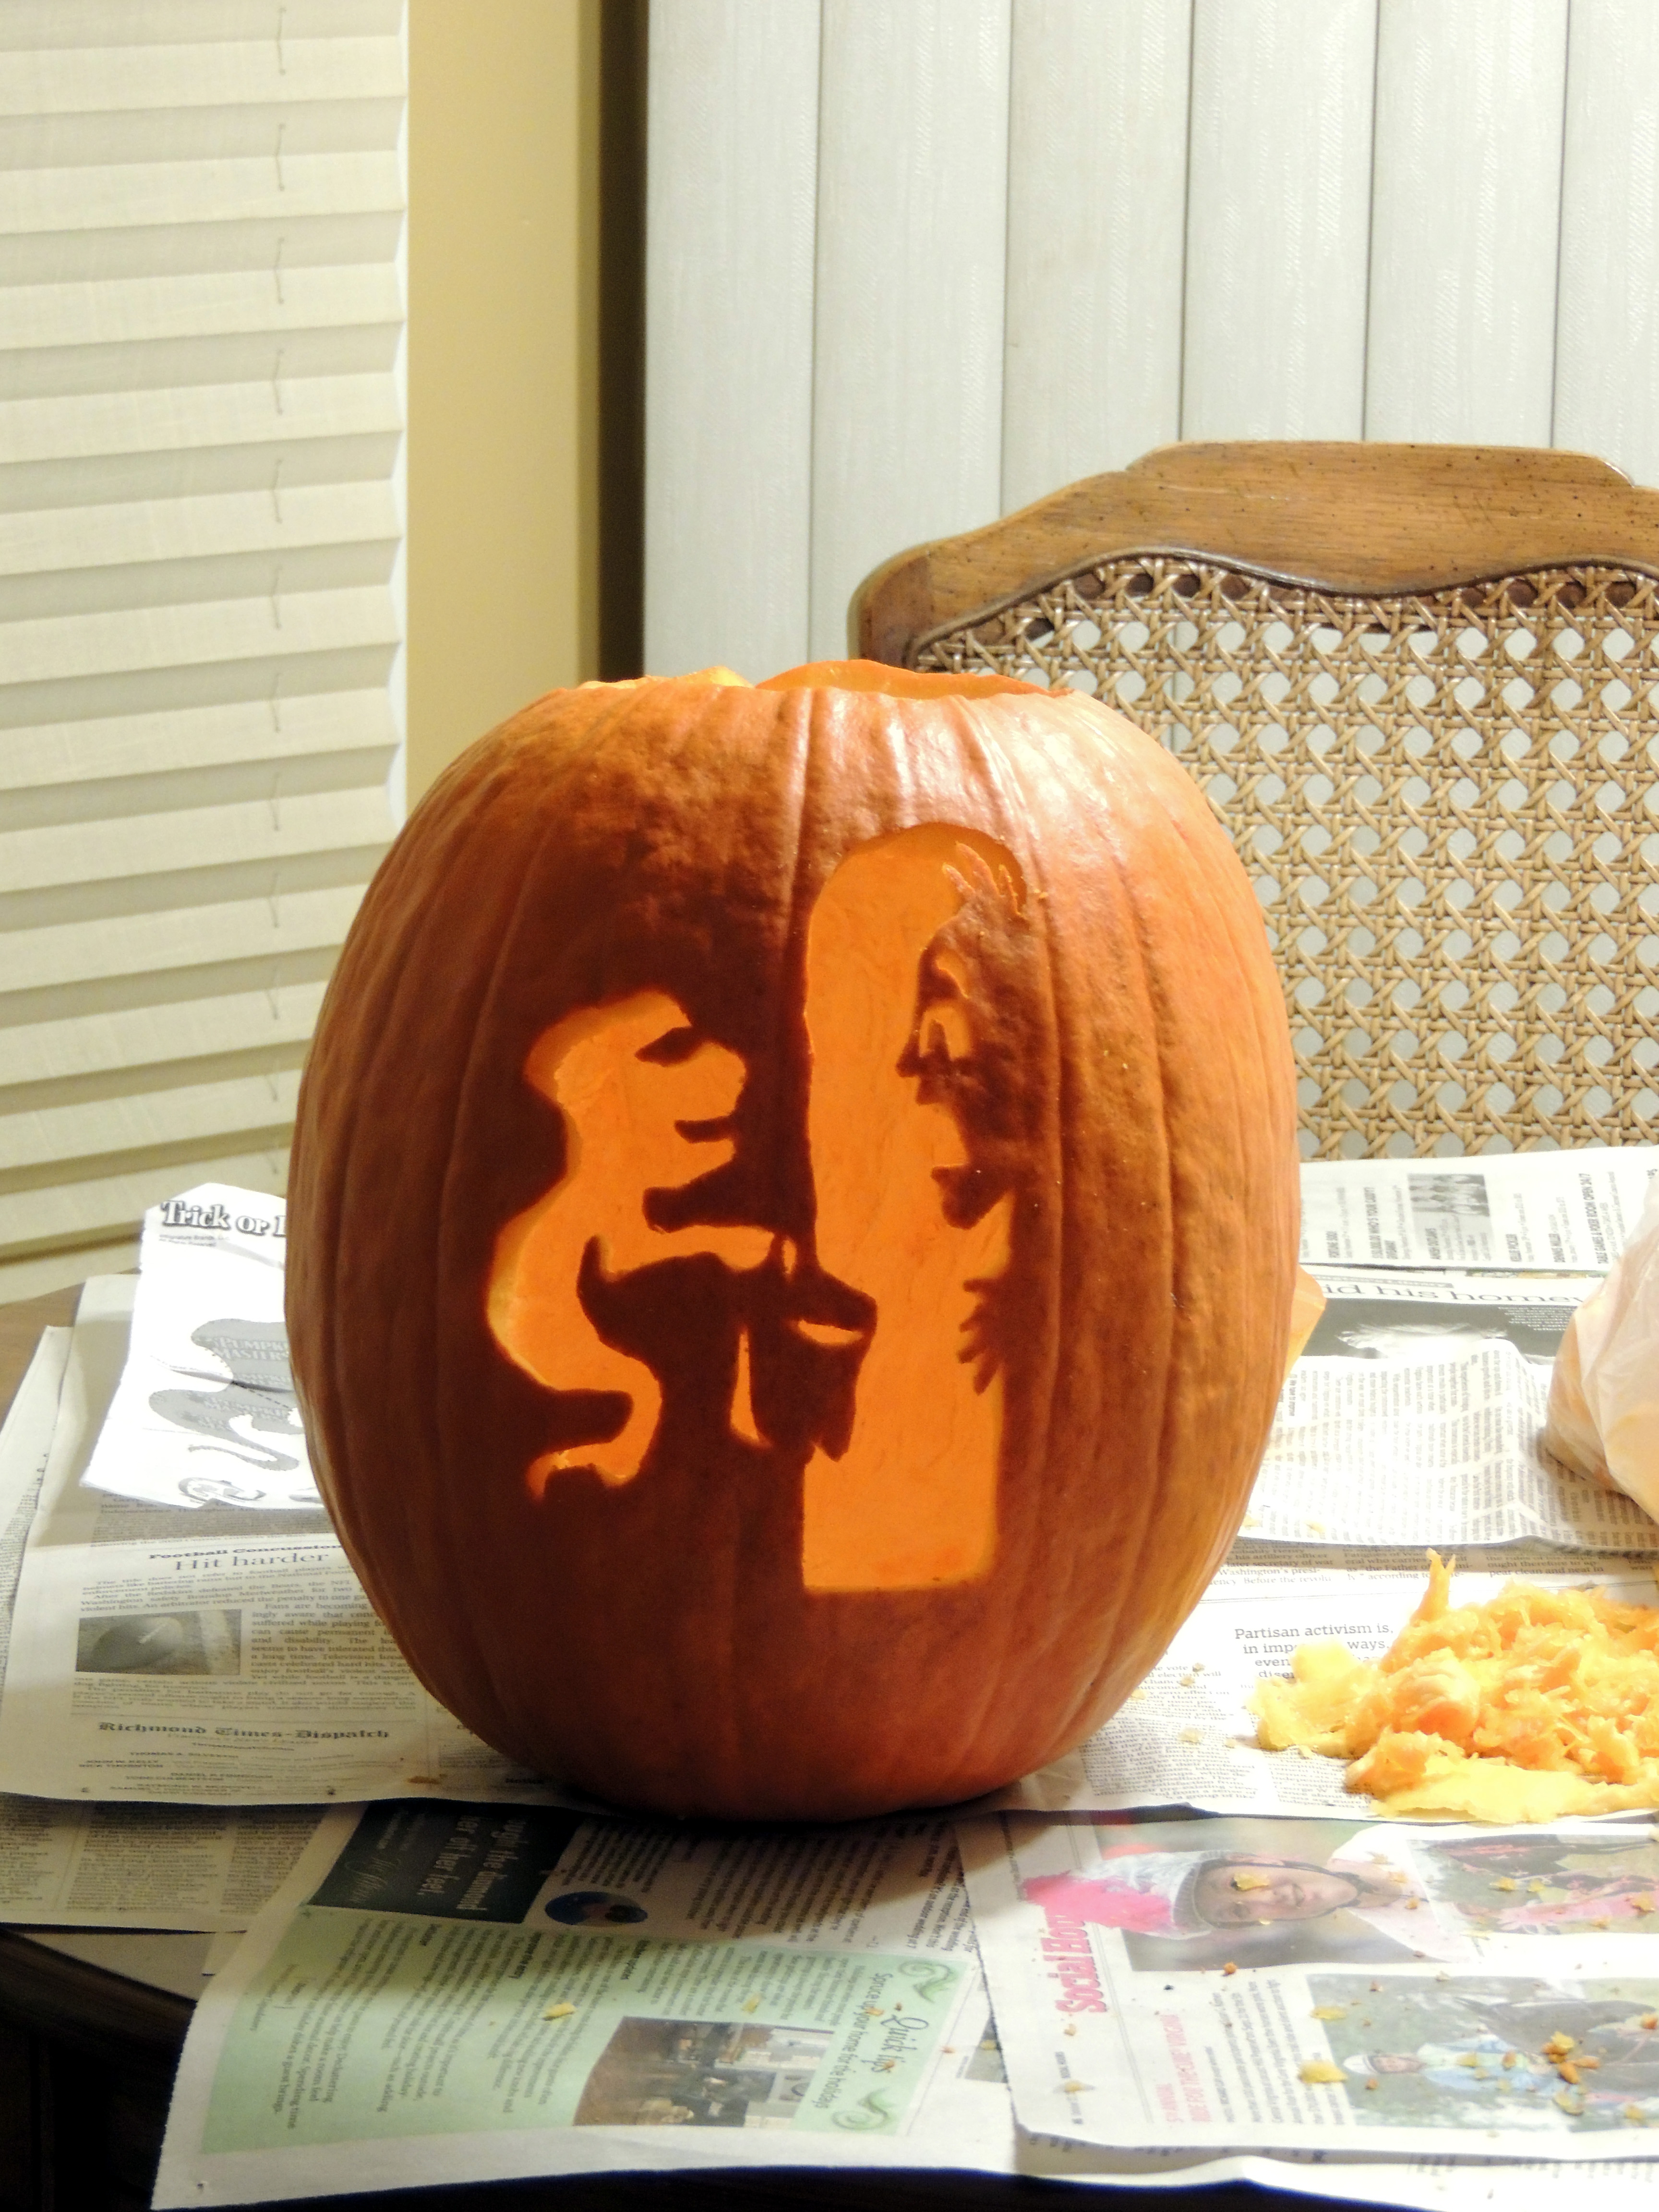
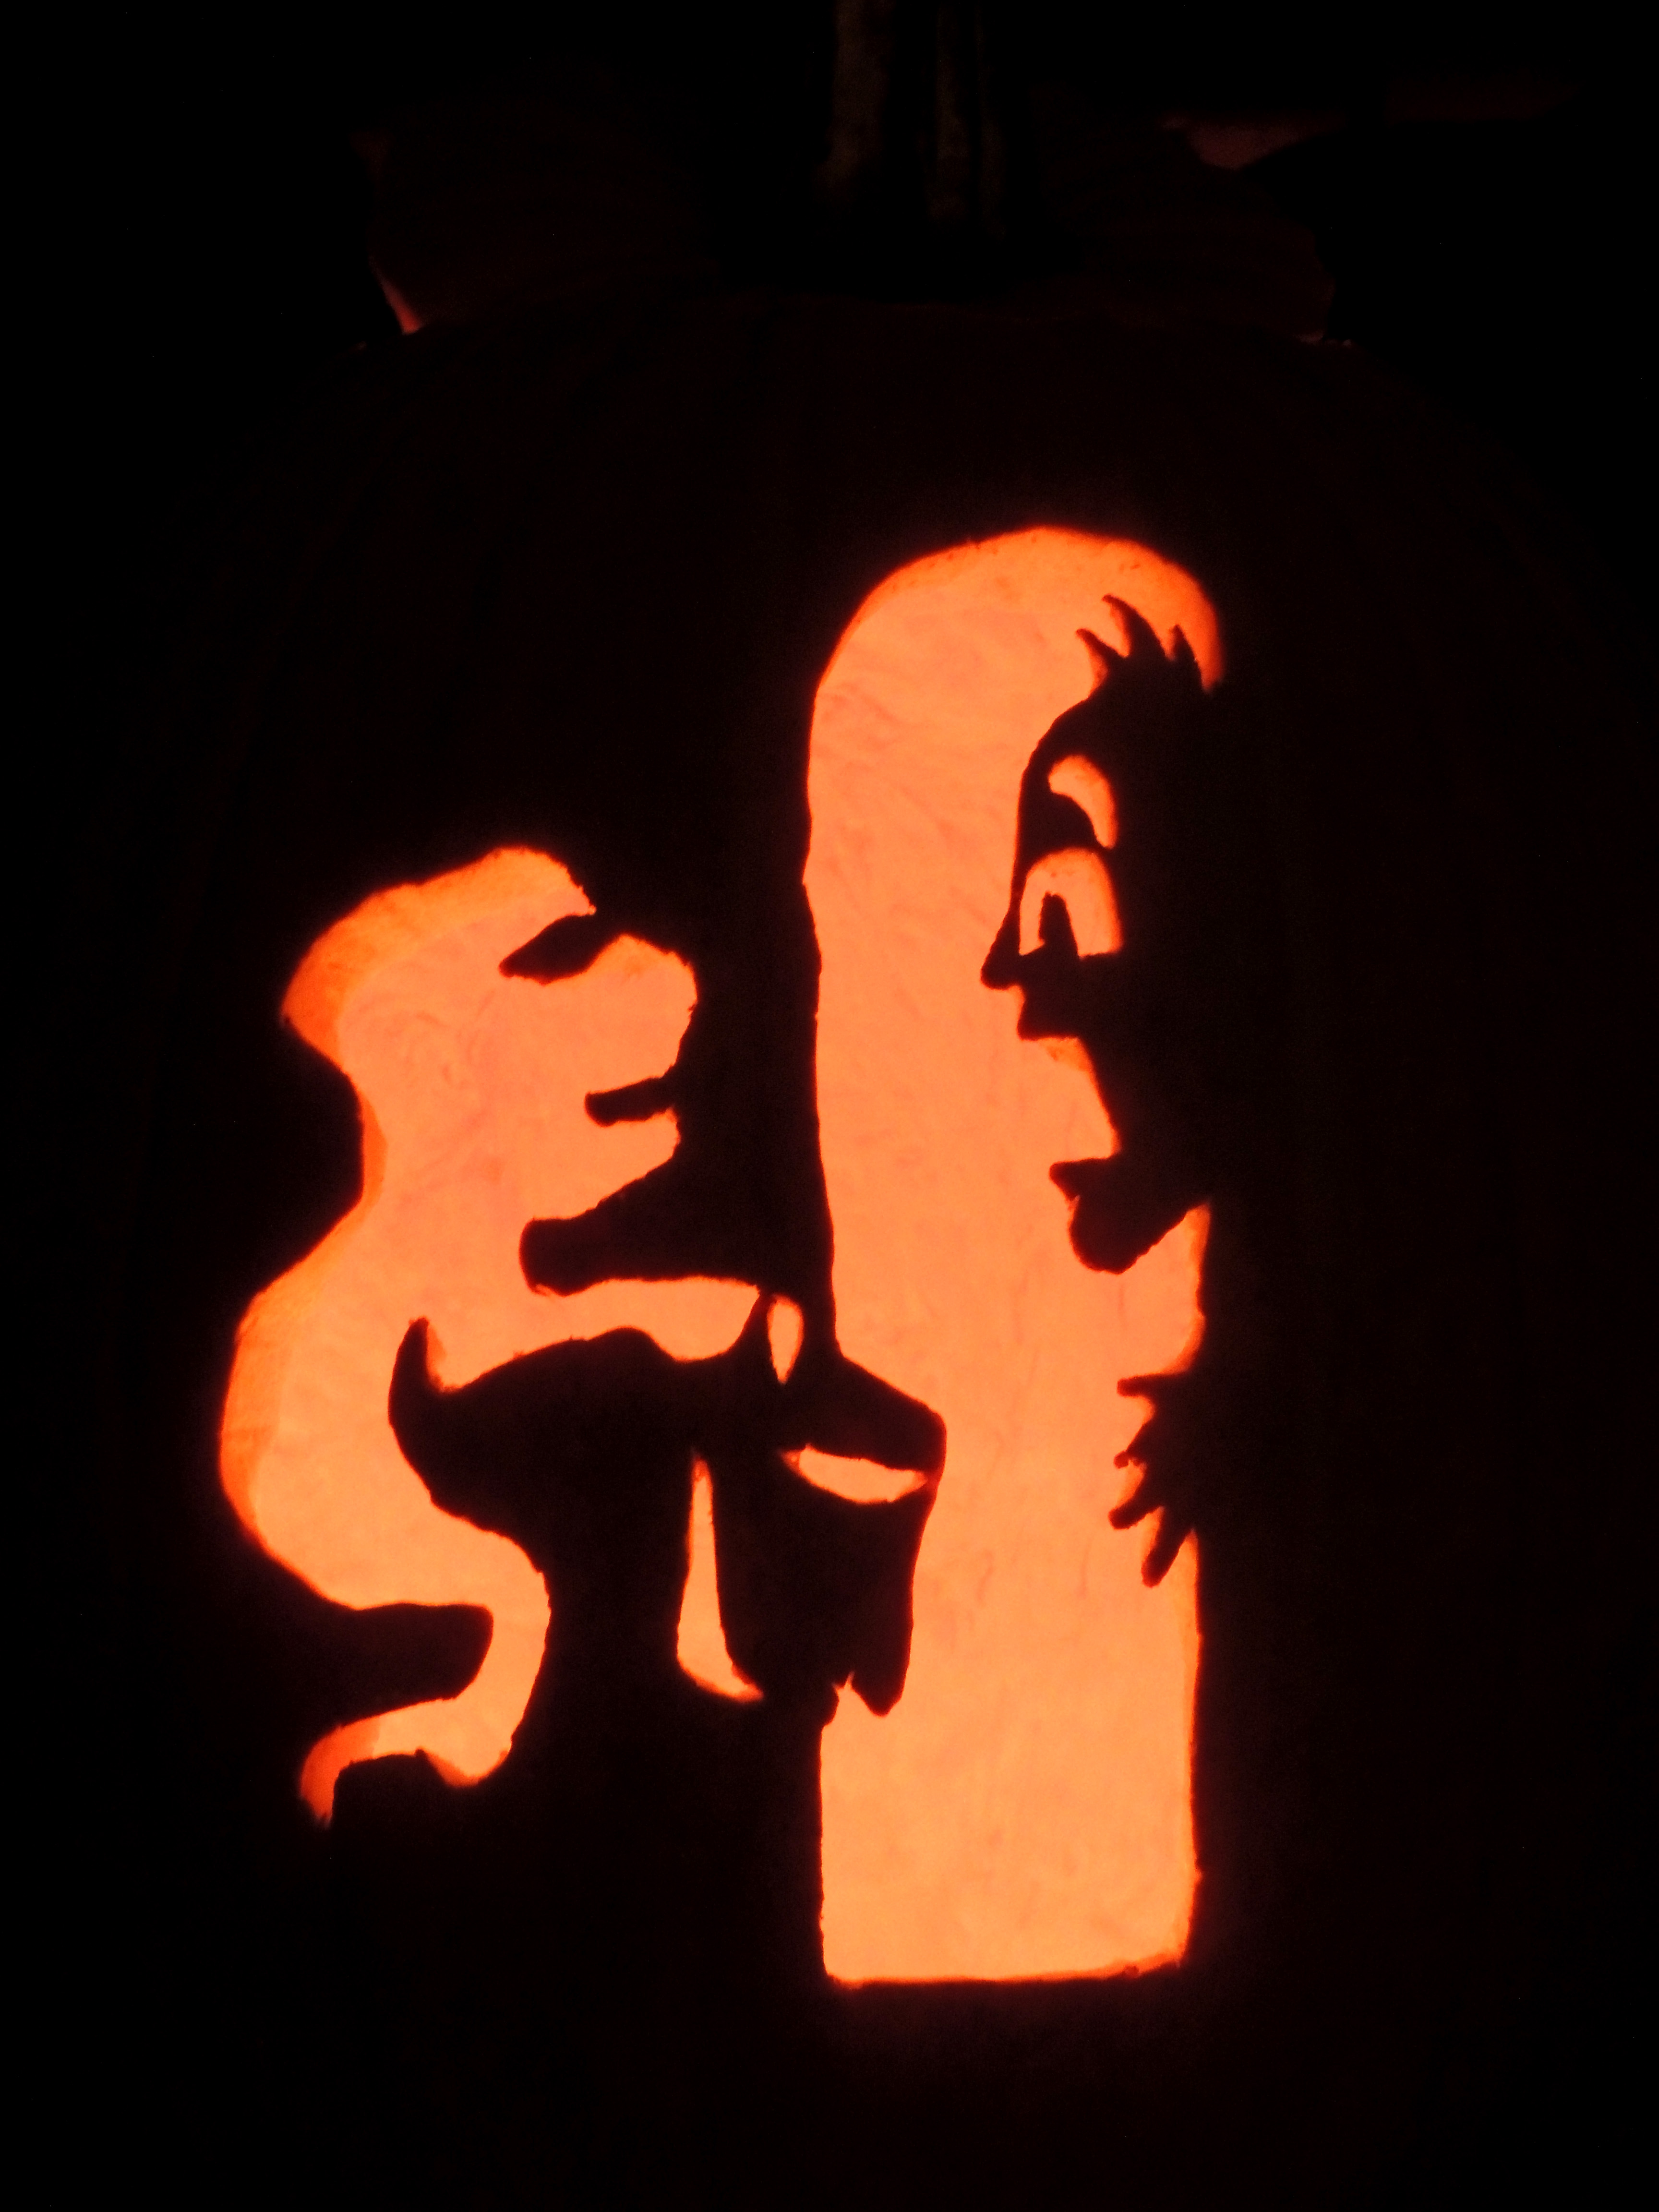
Once you’ve done the rough carving and poked out the pieces, then comes the detailed carving. And eventually, you end up with your finished jack-o-lantern!

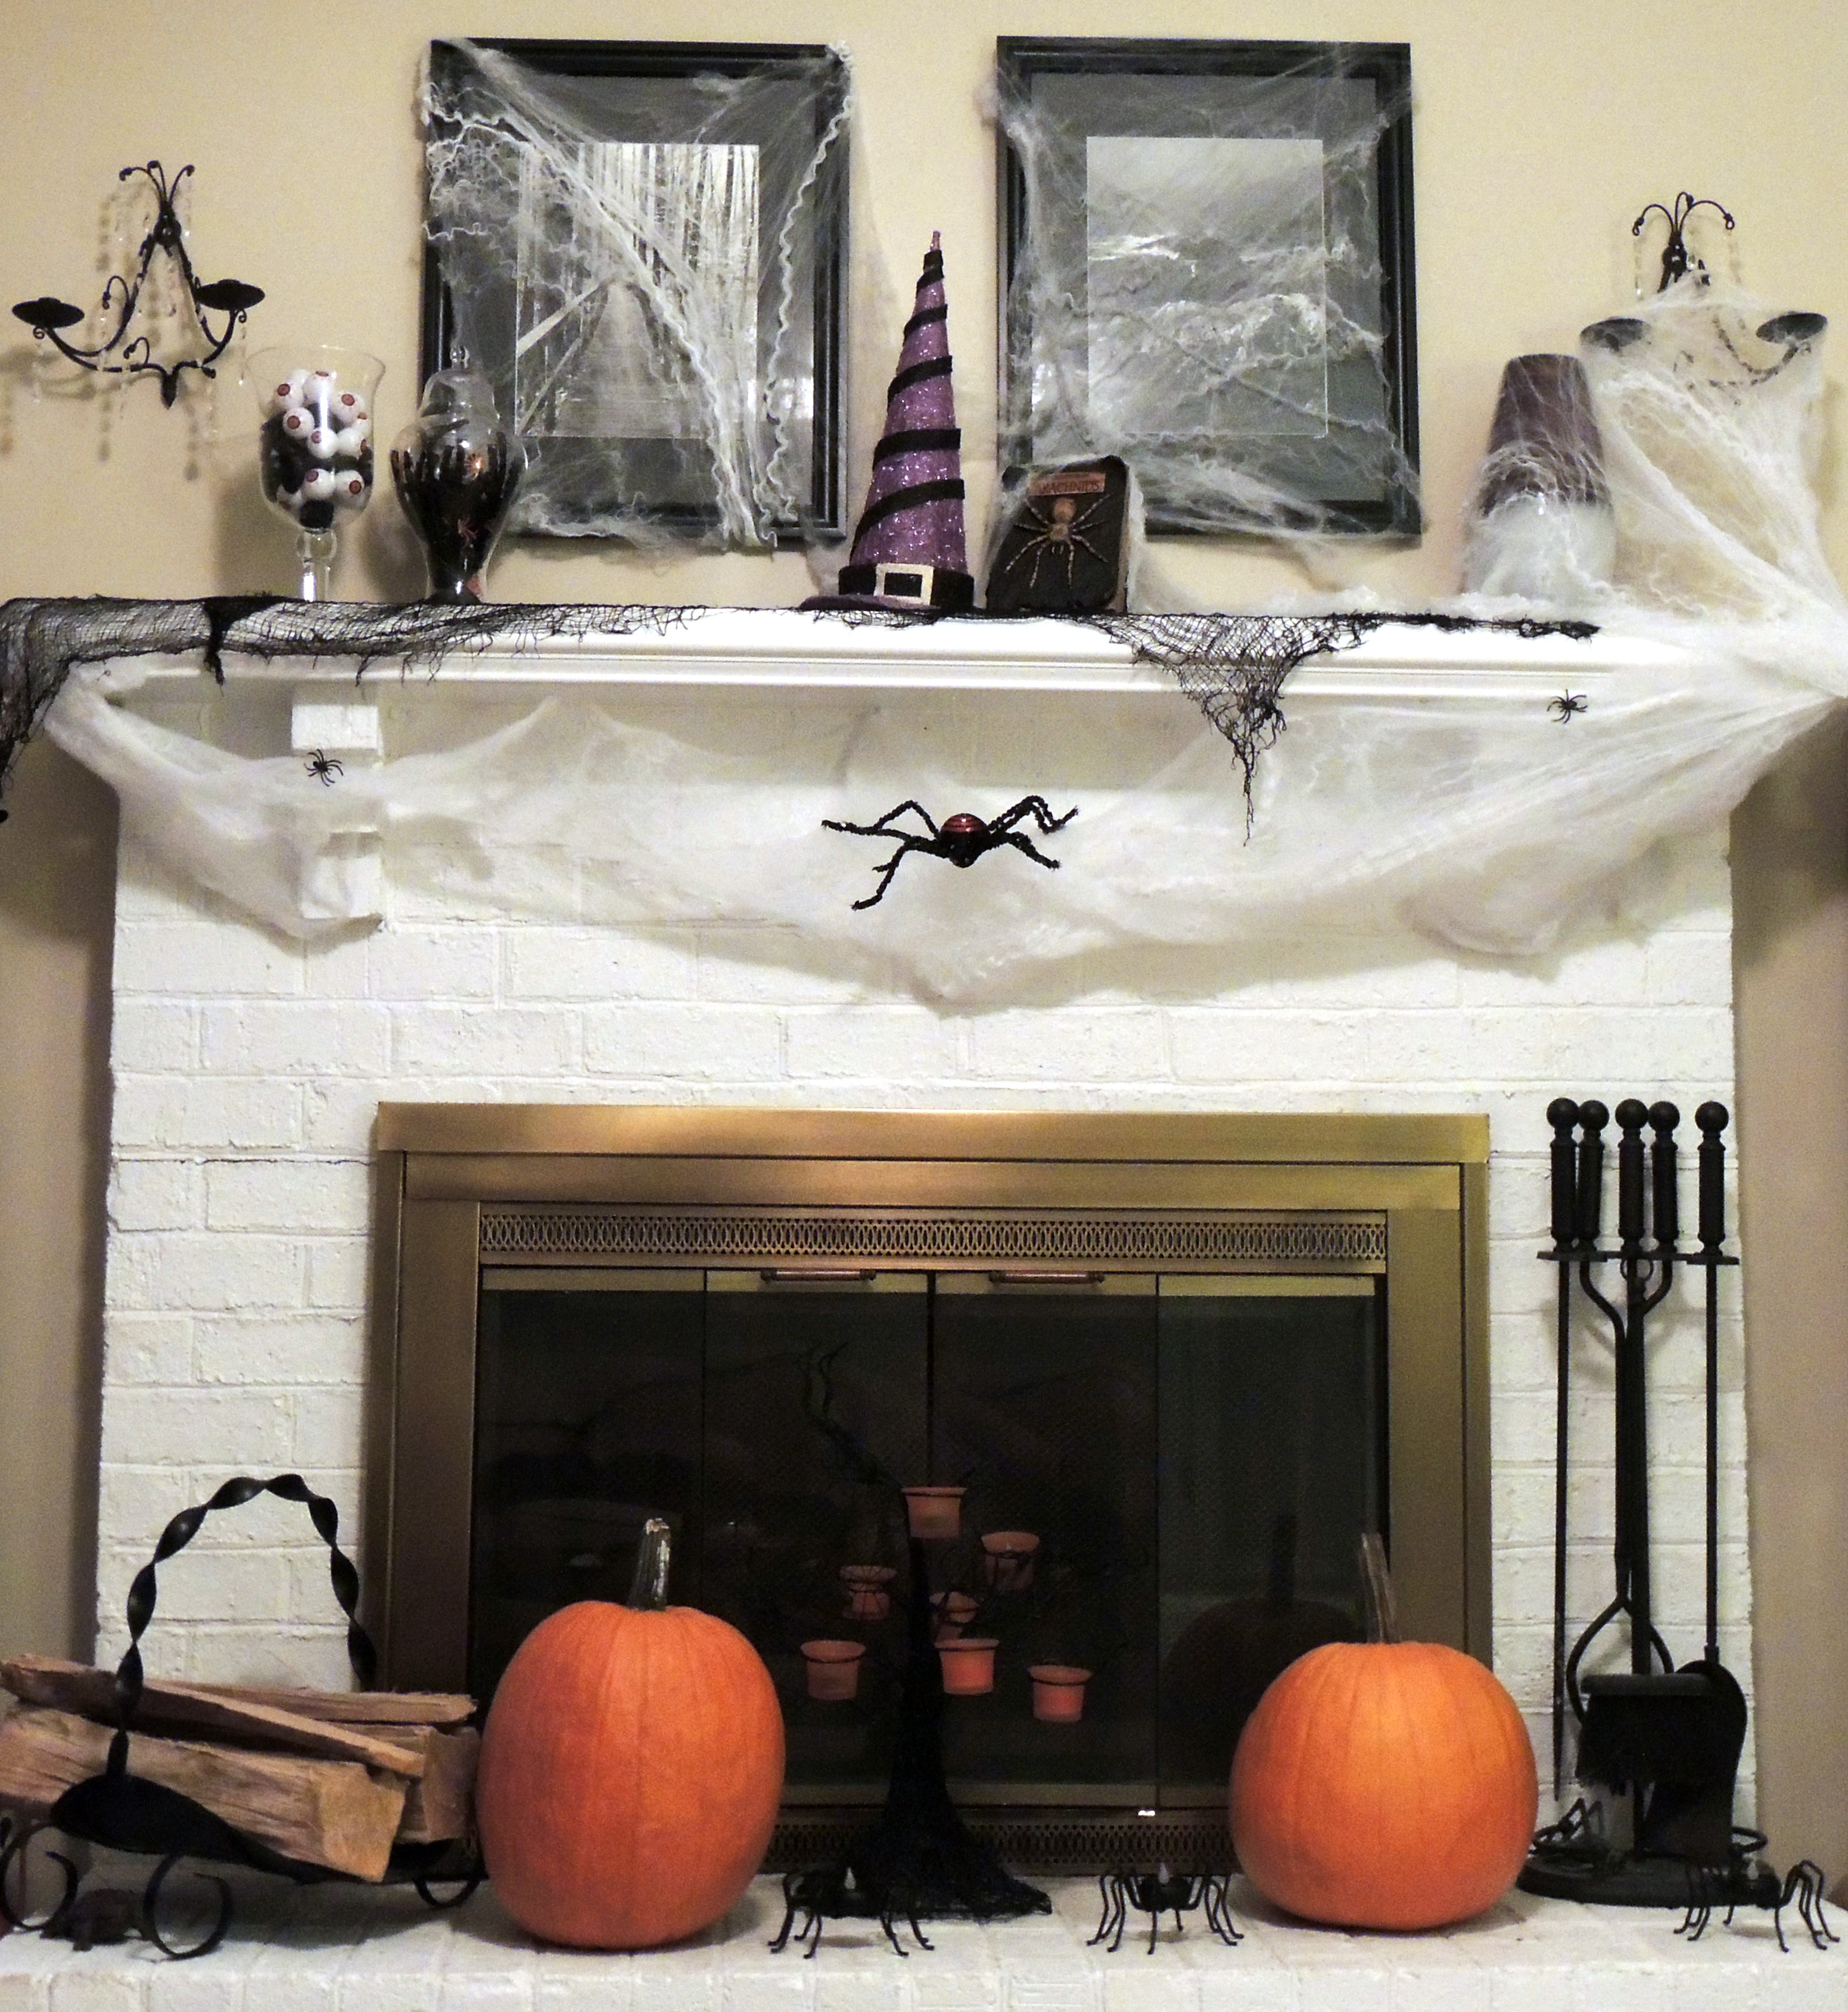
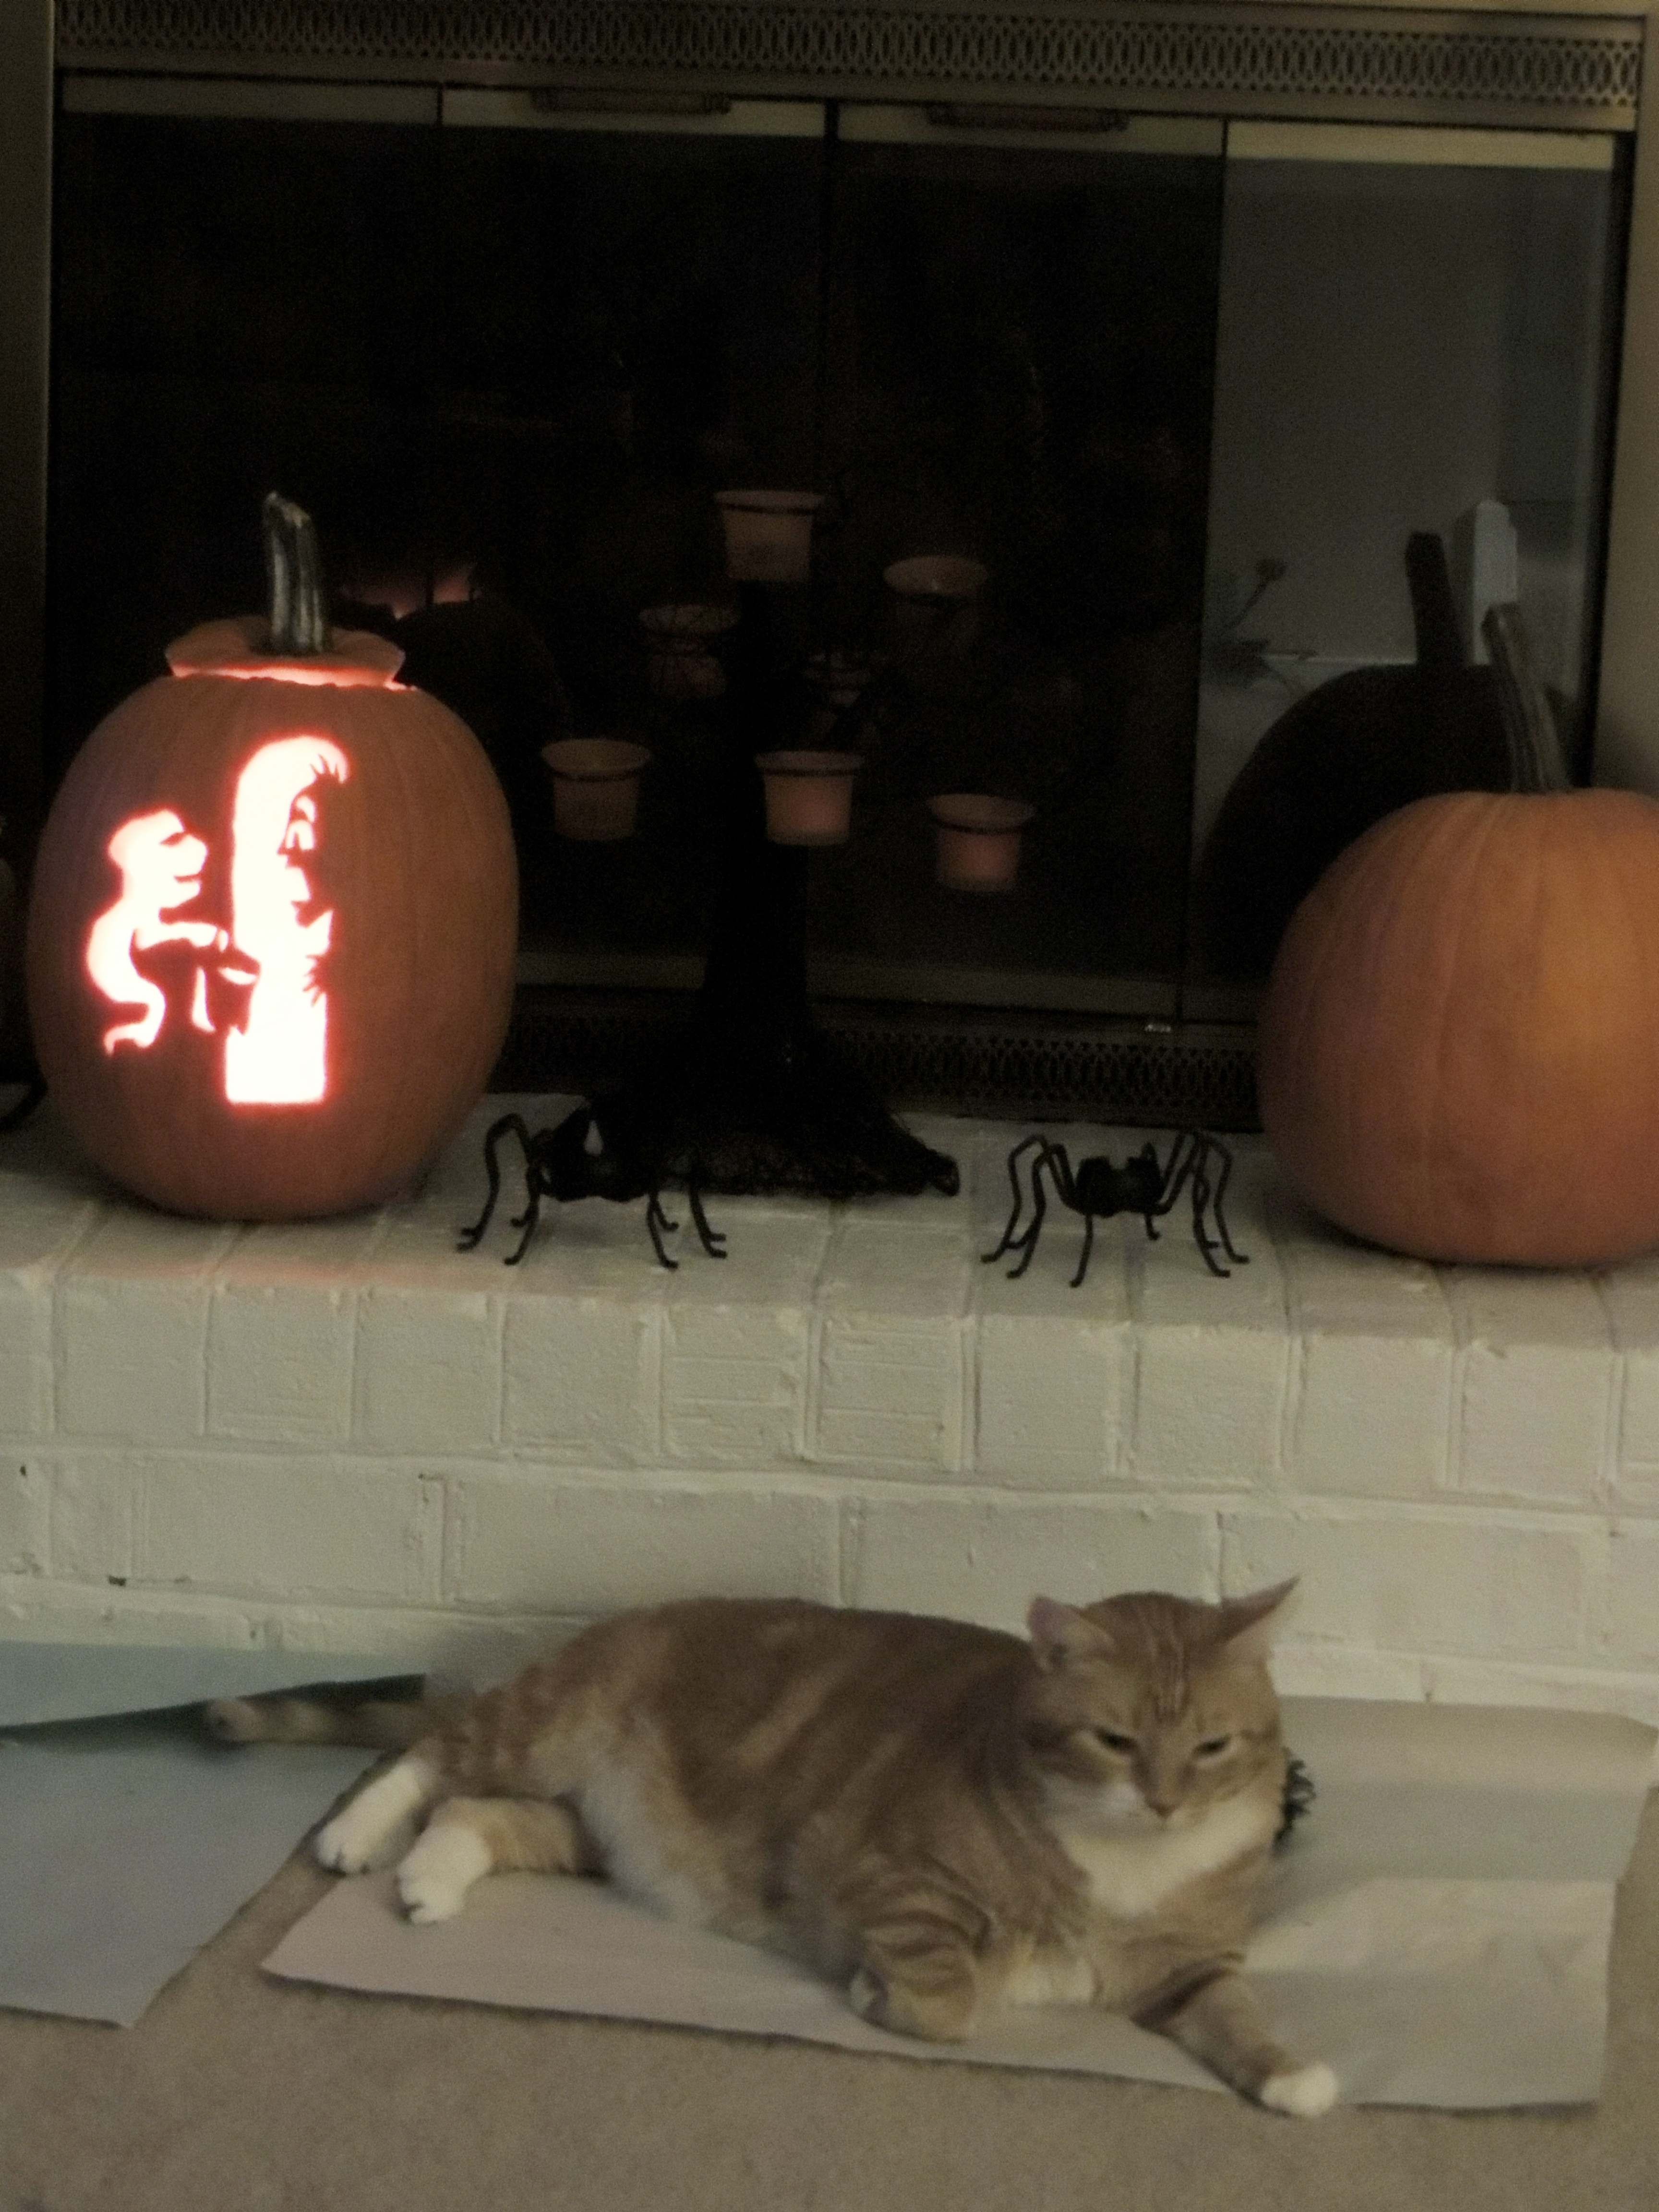
All that’s left is to put a candle in it, light it up, and add it to your Halloween hearth!


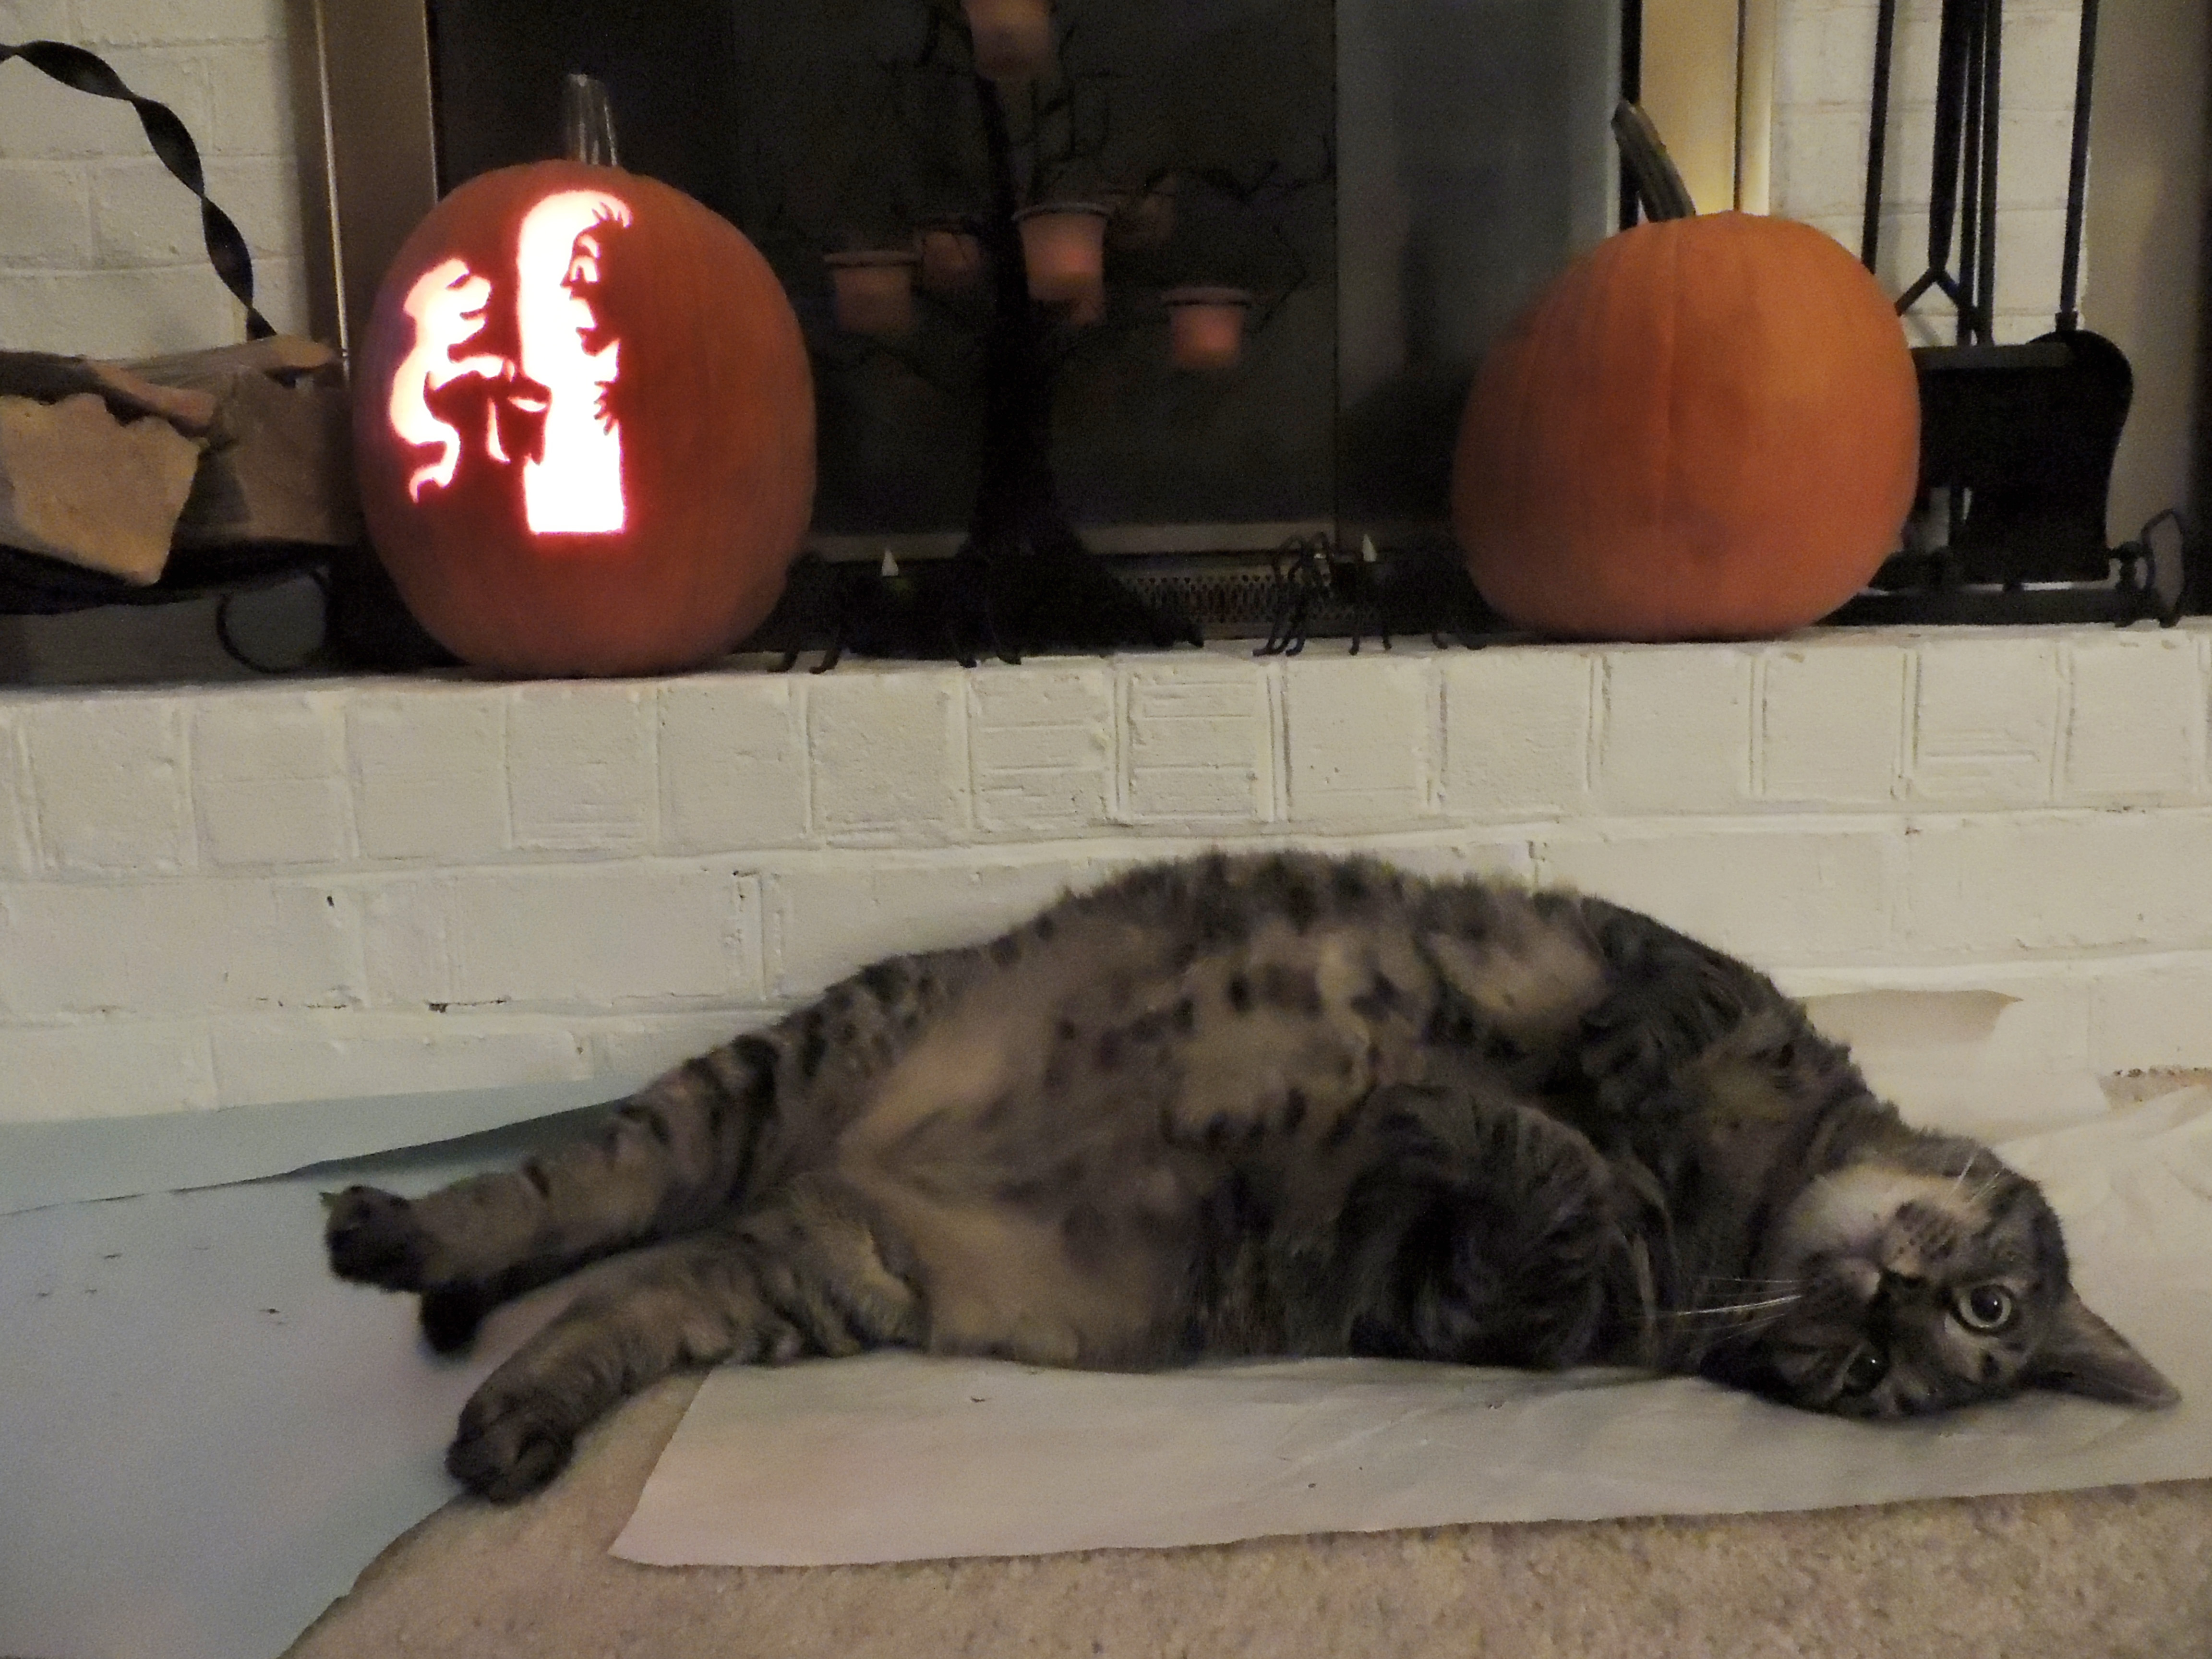
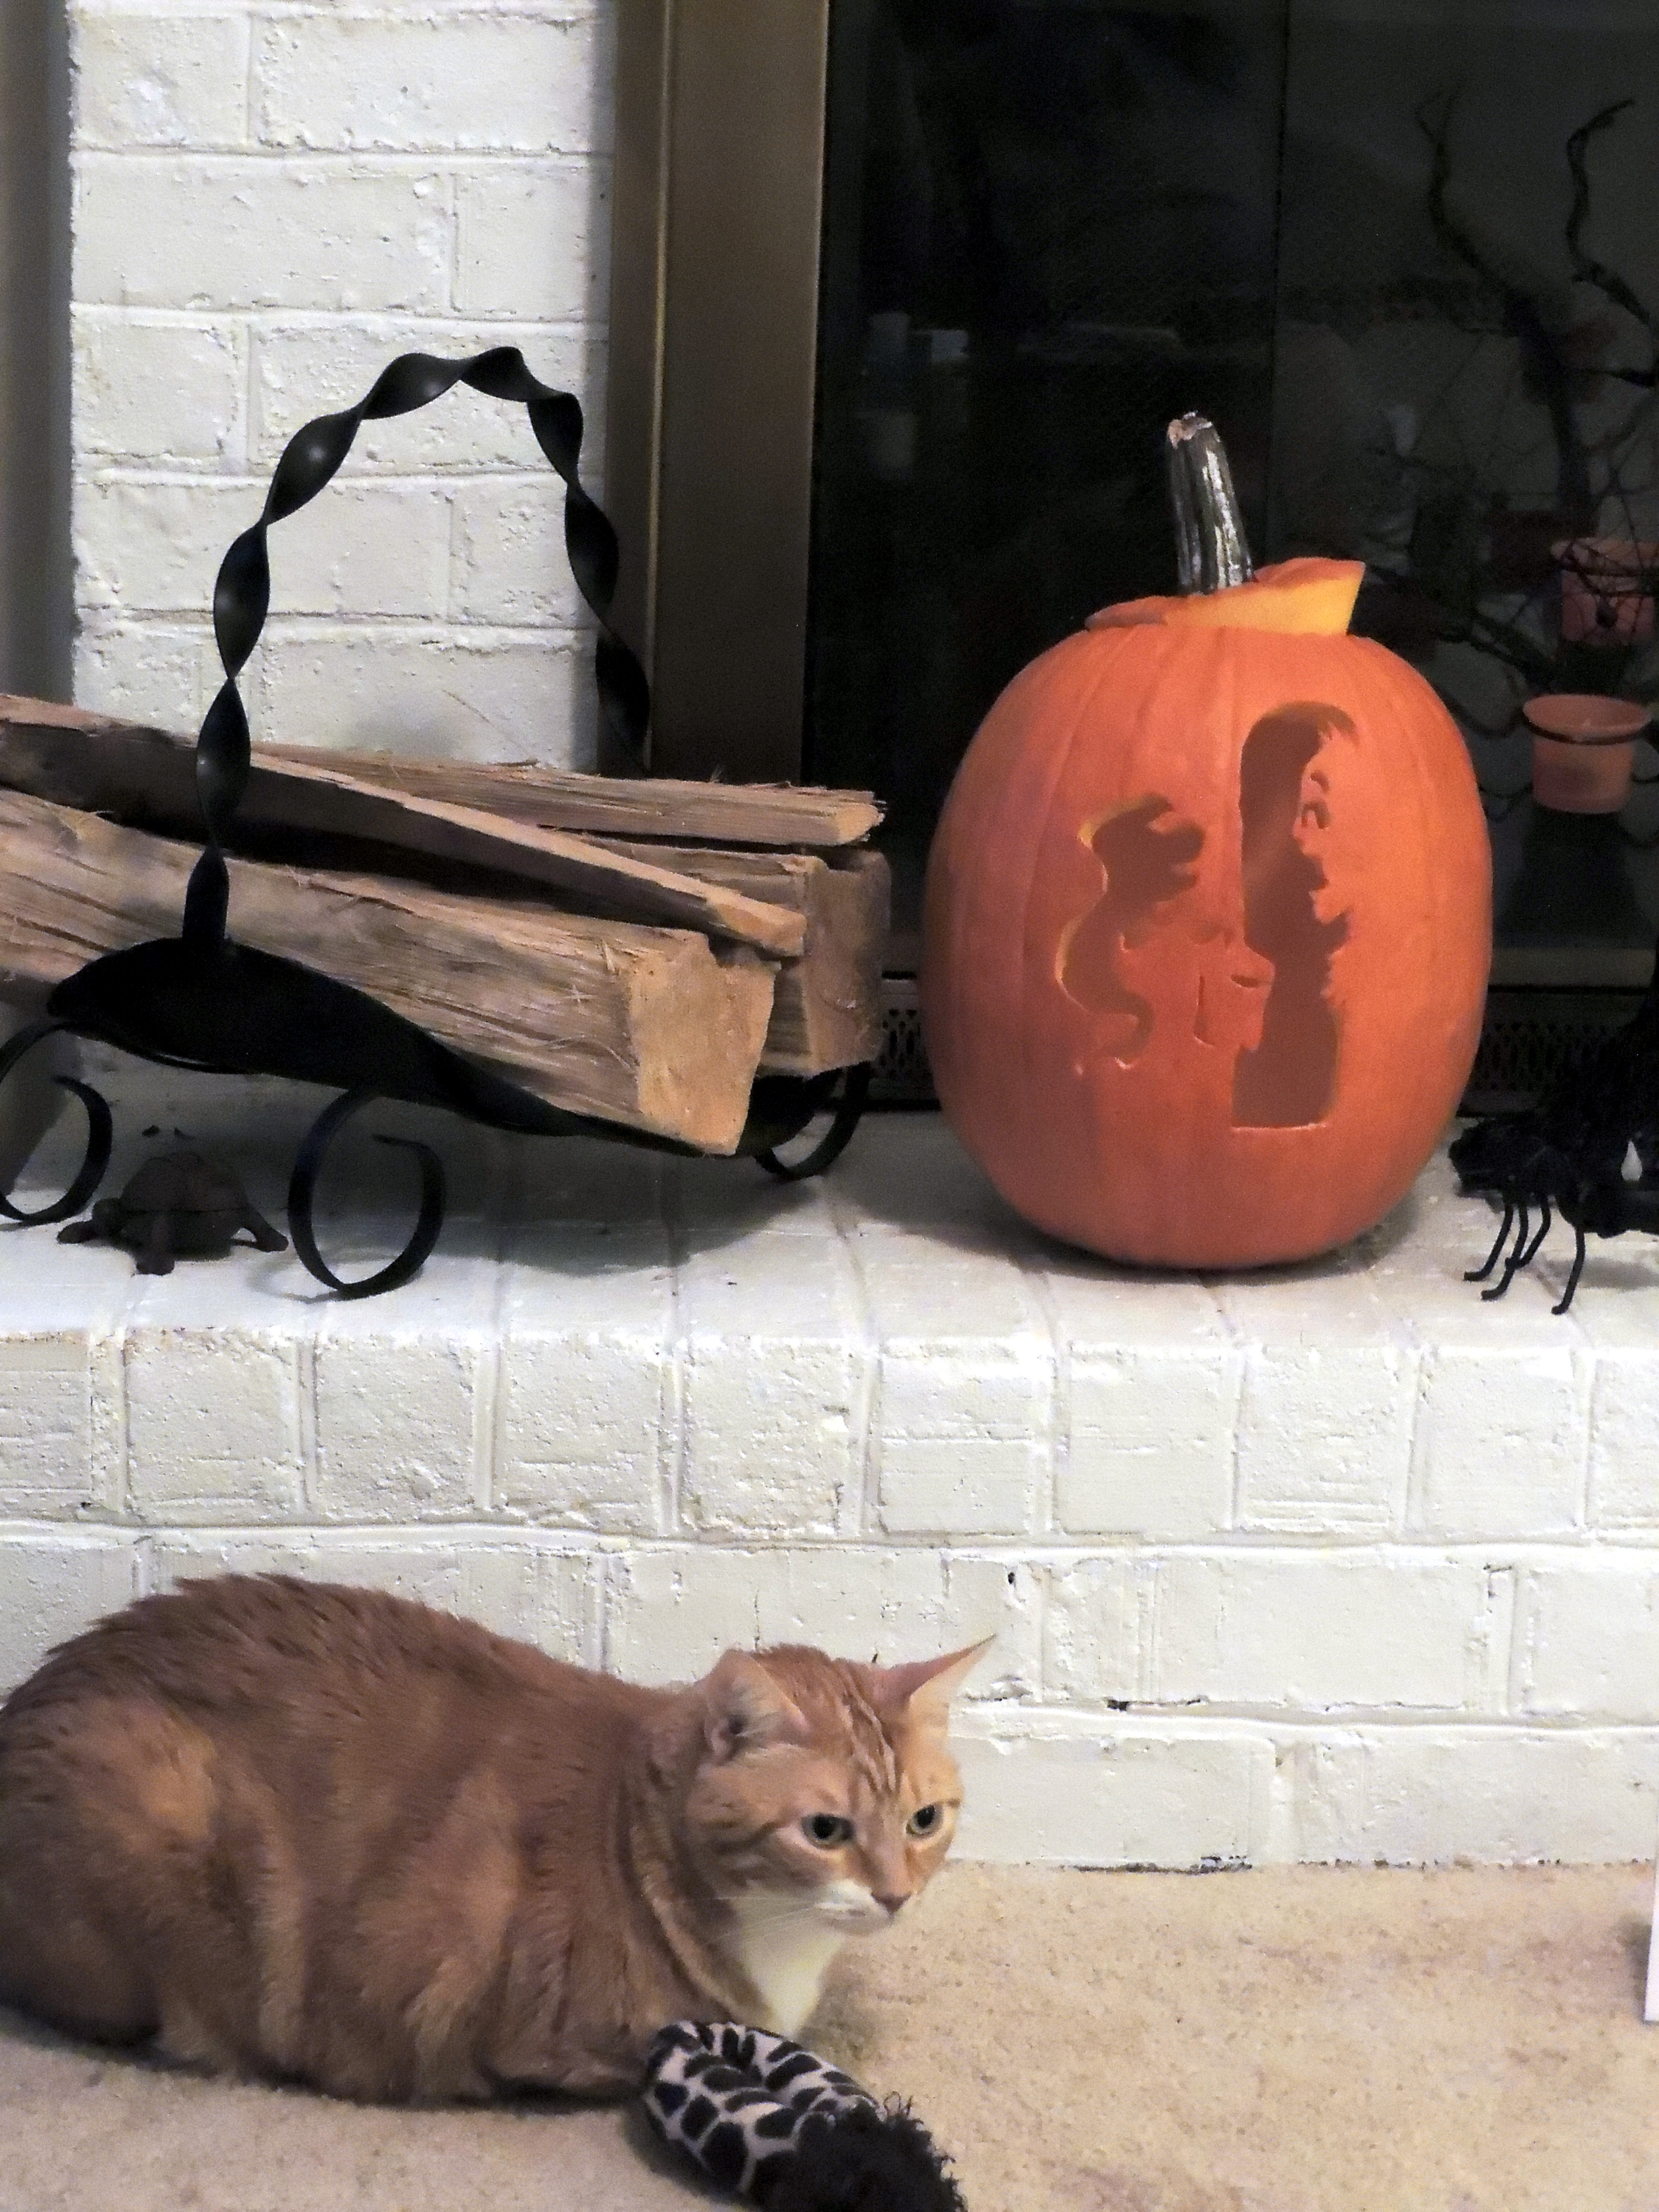
And don’t forget about the cats!

Played with the color a bit in this one.

That second pumpkin looks awfully boring next to the other one, doesn’t it! I’ll carve that one up tomorrow night and add to this post. As for tips on keeping the pumpkin fresher longer, I’ve read that dunking it in a bucket of water/bleach mixture will help hold off mold and the rotting process, but the bucket I have isn’t big enough. So, I’m trying a spray bottle of water/vinegar mixture instead. I’ll report back on whether or not it worked.
**Updated 10/30/13**
First pumpkin is still holding up pretty well! This is it 24 hours later. Just need it to stay fresh for another 24 hours!
Carved the second pumpkin this evening. And yes, the V in Velcome is on purpose.


Here is a link to some of my pumpkins from years past.
https://anyonecantakeapicture.com/2012/10/14/pumpkin-carving/
Happy Halloween!

I like the step-by-step format! I didn’t realize you made so many cool carvings; good that you took photos! Twixie is SOOOO cute!